Growing mums outside comes down to three things you have to get right: planting at the correct time, choosing varieties that can actually survive your winters, and pinching consistently through summer so plants bush out and bloom hard in fall. To grow potted mums successfully, keep them in bright light, water consistently, and follow the same pinching and timing habits that outdoor mums need. Get those three things dialed in and outdoor mums are genuinely low-maintenance. Skip any one of them and you end up with a leggy, frost-killed plant that blooms once and never comes back.
How to Grow Mums Outside: Planting to Fall Blooms

Harriet Whitmore
19 May 2026
Best outdoor mums for your climate and hardiness
Not every mum you pick up at a garden center in September is going to survive winter in the ground. The ones that will are called blank" rel="noopener noreferrer">hardy chrysanthemums (Chrysanthemum × morifolium), and they're reliably perennial in USDA Zones 5 through 9, with some sources putting the upper end at Zone 8 for the hardiest varieties. If you're in Zone 4 or colder, you can still grow them as annuals, or you can mulch heavily and hope, but managing expectations matters.
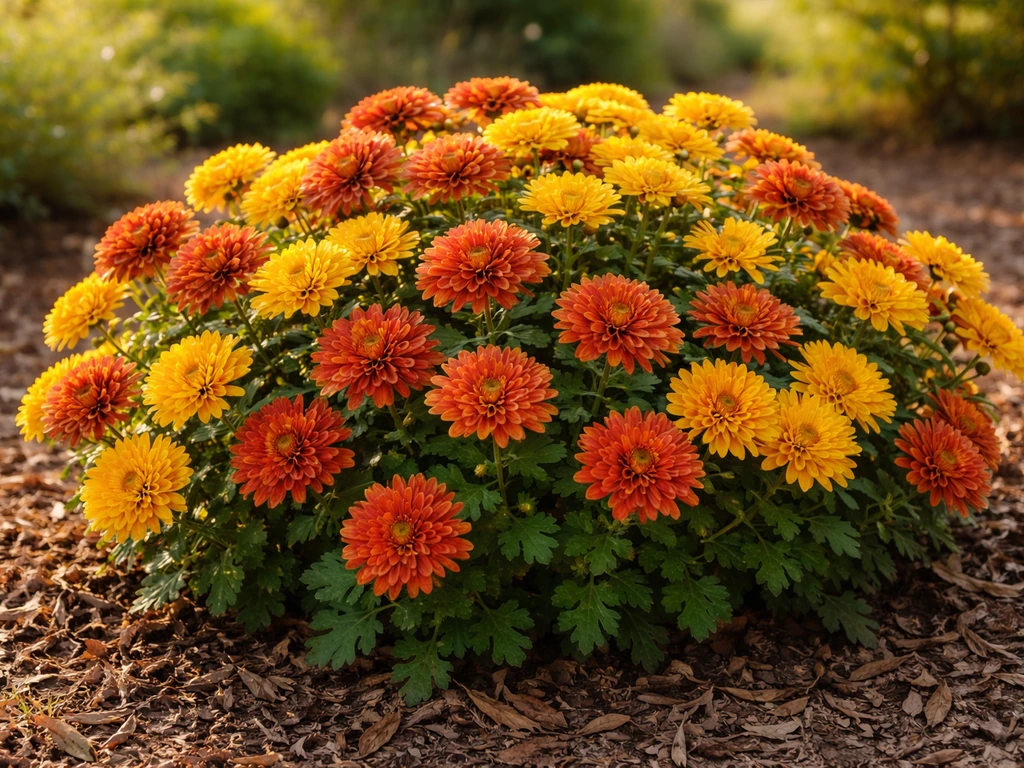
Within the hardy mum category, you'll find cushion mums, decorative mums, and garden mums sold under dozens of trade names. Cushion types stay compact (12 to 18 inches) without much intervention, which makes them the easiest pick for beginners. Decorative types get larger and produce showier blooms but need more pinching. If you're interested in specialty forms like spider mums, those have their own particular needs worth reading about separately. Spider mums are a special form of chrysanthemum, so knowing their specific needs helps you keep them from getting leggy and underperforming. For most gardeners just starting out with outdoor growing, a named hardy cushion variety from a reputable nursery is the safest bet.
When you're shopping, pay attention to whether a plant is labeled as a 'florist mum' versus a 'garden mum.' Florist mums are bred for greenhouse production and indoor display, and most won't overwinter reliably outside. Garden mums are the ones bred for outdoor hardiness. The label matters more than the flower shape.
Site prep: sun, soil, drainage, and spacing
Mums are not forgiving of a bad site. Full sun is non-negotiable, plan on at least six hours of direct sun per day. Less than that and you'll get floppy, poorly-flowering plants no matter how well you do everything else. I've tried pushing them into part shade and it never works as well as you hope.
Drainage is equally critical. Mums sitting in wet soil will rot at the crown, especially over winter. If your garden has heavy clay, work in several inches of compost before planting to loosen the structure and improve drainage. Raised beds are genuinely worth considering if your soil stays waterlogged after rain. Mums prefer a slightly acidic to neutral soil pH, somewhere between 6.0 and 7.0.
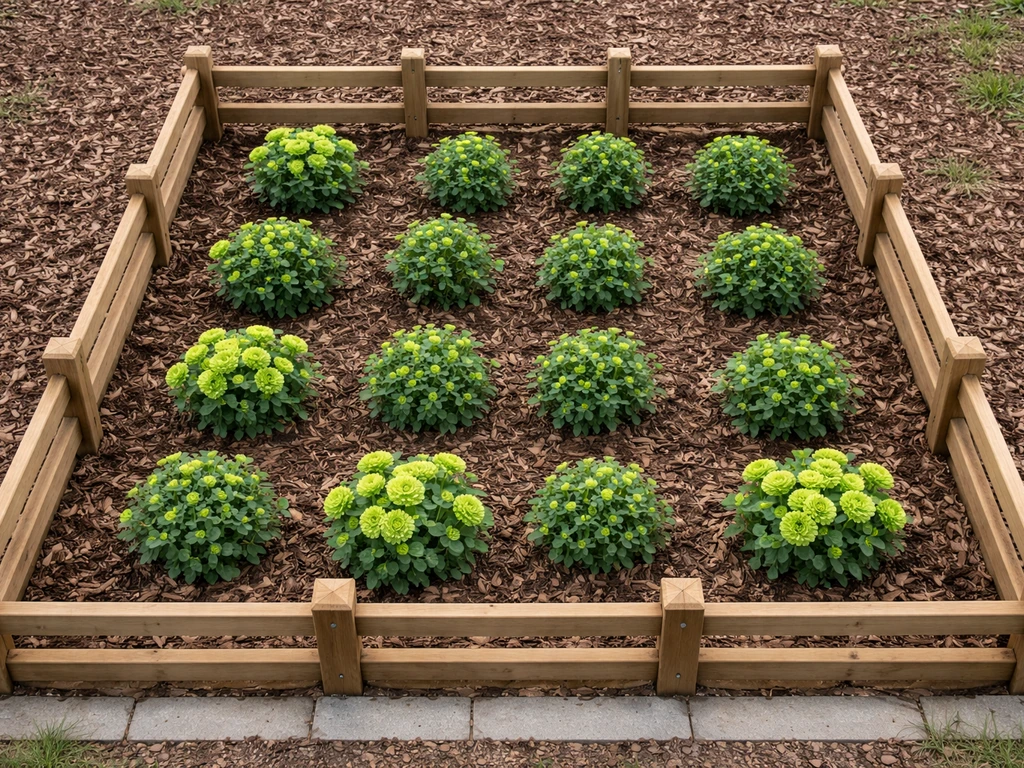
For spacing, plant garden mums 18 to 24 inches apart. That feels like a lot when you're working with small transplants in spring, but mums spread and need airflow between plants to avoid the fungal problems that love humid, crowded conditions. Crowding them to fill space faster is one of the most common beginner mistakes I see, and it creates more problems than it solves.
Planting timing and step-by-step transplanting or starting from seed
Spring is the ideal time to plant outdoor mums, not fall. Spring planting gives roots a full season to establish before they have to survive winter. If you plant in fall, which is tempting because that's when stores are full of blooming mums, Utah State University Extension recommends giving roots at least six weeks to establish before the ground freezes. That means in most of Zone 5 and 6, you need to be planting by early to mid-September at the latest for any real chance of overwintering.
Transplanting store-bought starts
- Buy healthy green plants in spring, ideally before they set buds, so the plant's energy goes into root development rather than flowering.
- Water the transplant thoroughly an hour before you move it, so the root ball holds together.
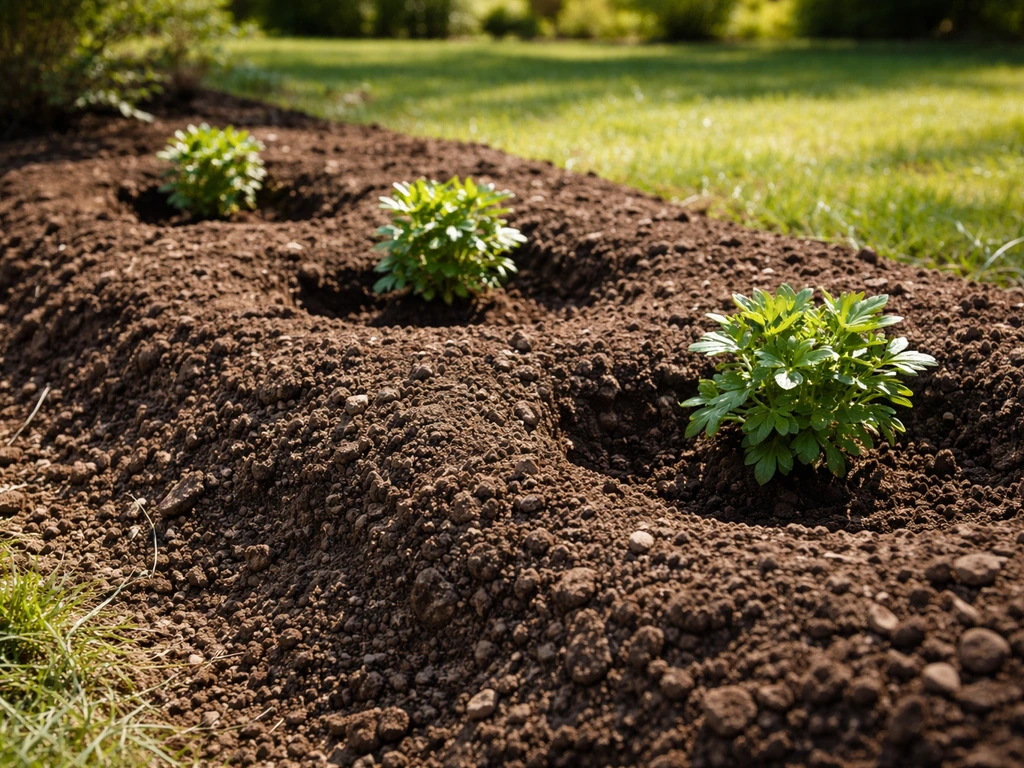
- Dig a hole slightly wider than the root ball and the same depth — you don't want to bury the crown deeper than it was growing in the pot.
- Set the plant in, backfill with native soil amended with compost, and firm gently around the base.
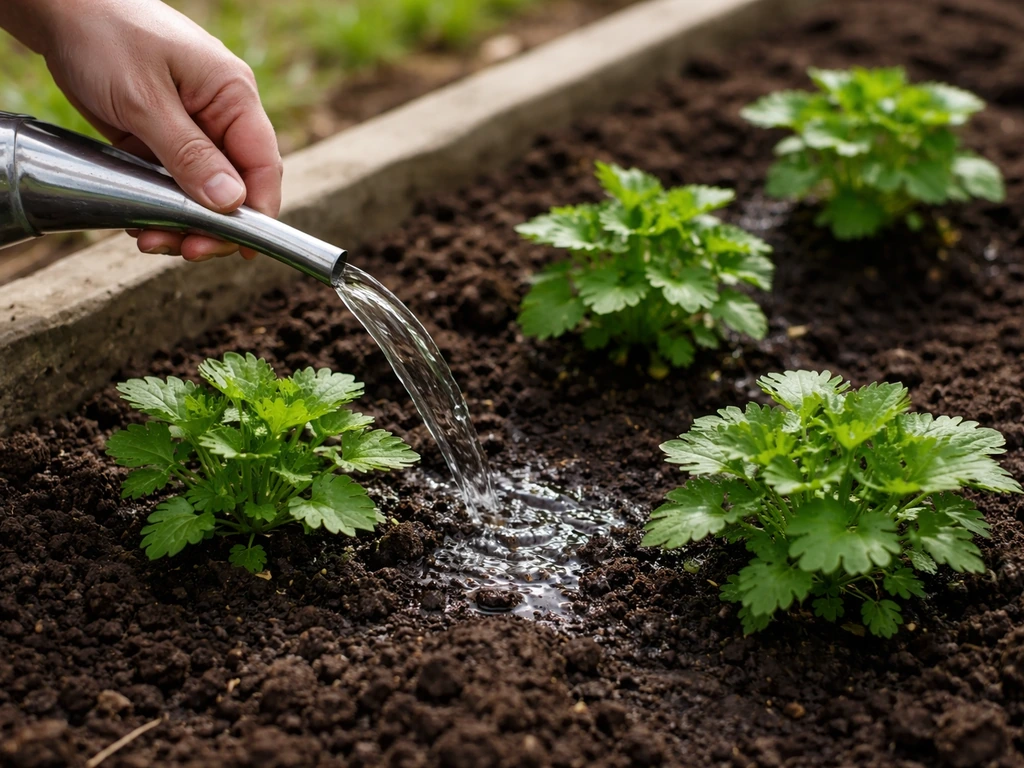
- Water in slowly and deeply right after planting to settle the soil around the roots.
- Mulch with 2 to 3 inches of straw or shredded bark to retain moisture and regulate soil temperature, keeping mulch an inch away from the stem to prevent rot.
Starting from seed
Growing mums from seed is slower than starting from divisions or transplants, but it's a rewarding way to build a collection. Start seeds indoors 6 to 8 weeks before your last frost date. Sow on the surface of a moist, well-draining seed-starting mix, mum seeds need light to germinate, so don't cover them. Keep the tray at 65 to 70°F and expect germination in 10 to 15 days.
Once seedlings have two or three true leaves, pot up into individual 3-inch containers. Harden off for a week before moving outside, and transplant after your last frost date following the same steps as transplanting store-bought starts. Seed-grown mums typically take longer to reach flowering size, so your first big bloom display is usually the second year.
Watering and feeding schedule for outdoor growth
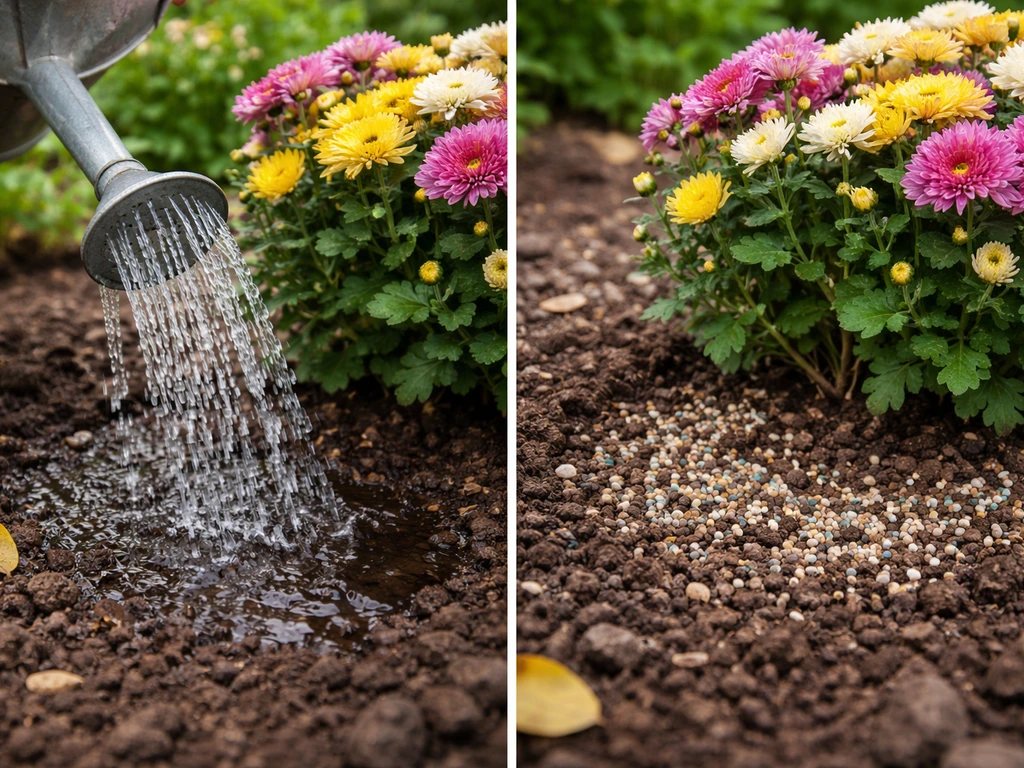
Outdoor mums like consistent moisture but hate sitting in water. In practice, that means watering deeply once or twice a week depending on rainfall and temperature, aiming to keep the top inch of soil from drying out completely. Water at the base of the plant rather than overhead, wet foliage is an invitation for fungal disease. During hot dry spells in midsummer, you may need to water every other day if your soil drains quickly.
For feeding, start with a balanced granular fertilizer (something like 10-10-10) worked into the soil at planting. Once plants are actively growing in late spring and early summer, switch to a fertilizer higher in nitrogen to push vegetative growth, this is when you want big, bushy plants to build that framework for fall flowers. Around midsummer (generally late July), shift to a low-nitrogen, high-phosphorus formula (like 5-10-10) to support bud development and flowering. Stop fertilizing entirely once buds show color, because feeding at that point can actually delay blooming.
Sun, day length, pinching, and controlling leggy growth
Mums are short-day plants, which means they're triggered to flower when nights get longer in late summer and fall. You can't really override this with outdoor growing, it's one of the reasons mums bloom in fall no matter what you do. What you can control is how the plant looks when it gets that signal. If you skip pinching through the growing season, you end up with tall, floppy stems that produce only a few blooms at the tips. Pinching redirects the plant's energy into branching, which means more stems and a denser, more floriferous plant.
The pinching schedule from Utah State University Extension is one of the most practical I've seen for home gardeners: pinch all shoots every two weeks from when plants are about 6 inches tall, stopping around June 10 for early-blooming varieties, June 20 for mid-season varieties, and July 1 for late-season varieties. Pinching means simply snapping or cutting off the top inch of each growing tip. It sounds tedious but takes only a few minutes per plant. The key rule is to stop pinching by early July, pinch later than that and you delay blooming past fall, which is a problem if you're in a shorter-season climate.
If you also have mums growing in containers, the same pinching principles apply, you can read more about container-specific care in a guide on how to grow potted mums. The outdoor in-ground setup just gives you more room to let plants reach their natural size.
Seasonal care calendar to get blooms spring through fall
| Season / Month | Key Tasks |
|---|---|
| Early spring (March–April) | Divide established clumps, amend soil with compost, plant new transplants after last frost risk passes |
| Late spring (May) | Begin fertilizing with balanced or nitrogen-forward feed; start pinching when shoots reach 6 inches |
| Early summer (June) | Continue pinching every 2 weeks; water consistently; continue high-nitrogen feeding |
| Midsummer (July) | Stop pinching by July 1 for late varieties; switch to low-nitrogen, high-phosphorus fertilizer |
| Late summer (August) | Watch for early bud formation; reduce watering slightly; stop fertilizing once buds show color |
| Fall (September–October) | Enjoy peak bloom; deadhead spent flowers to tidy plants; after hard frost, cut back stems to 4–6 inches |
| Winter (November–February) | Mulch crowns with 4–6 inches of straw after ground freezes; leave mulch in place until spring thaw |
One thing worth noting: the specific dates shift depending on your zone and local first/last frost dates. Gardeners in Zone 7 or 8 have a longer growing window than those in Zone 5, so pinching can run a week or two later and fall bloom stretches further into November. Always calibrate the calendar to your local frost dates rather than following it rigidly.
Troubleshooting outdoors: pests, diseases, and common failures
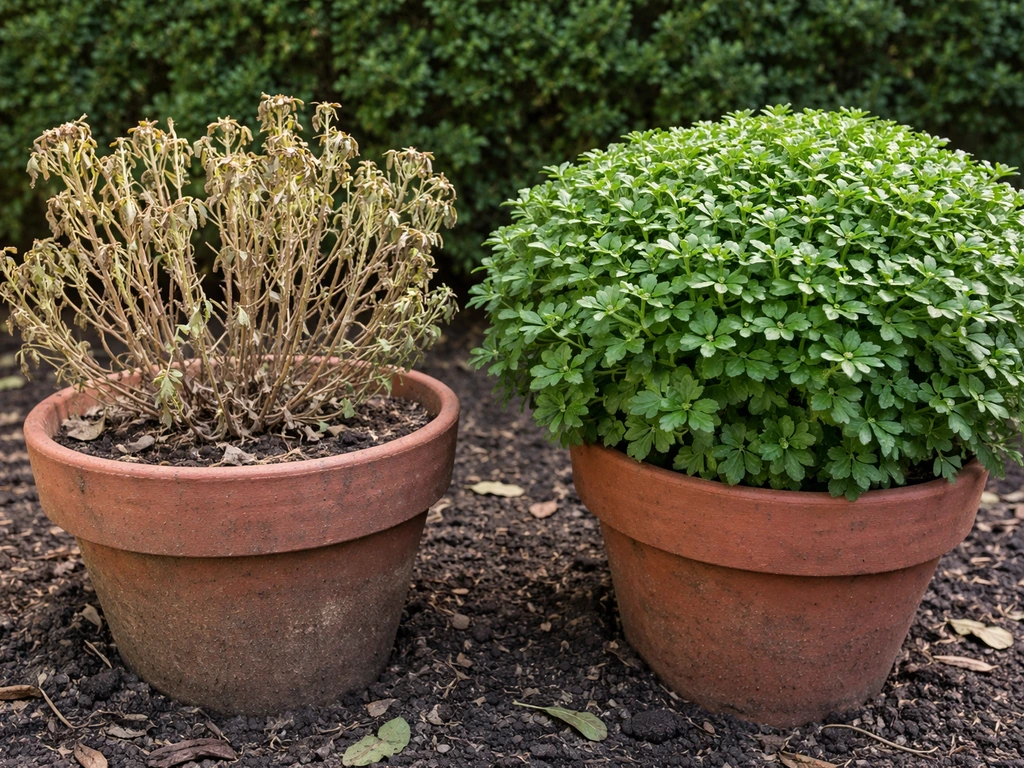
Plant won't come back after winter
Winter kill is the most common disappointment with outdoor mums. Virginia Cooperative Extension notes that garden mums (Chrysanthemum x morifolium) are typically hardy in zones 5 to 9 outdoor mums are… typically hardy in zones 5 to 9. The two main causes are planting too late in fall (roots never had time to establish) and wet soil that freezes and heaves the crown out of the ground. The fix: plant in spring whenever possible, mulch after the ground freezes (not before), and improve drainage before next planting season. In Zone 4 or colder, treat mums as annuals unless you're willing to experiment with heavy mulching or cold-frame protection.
Leggy growth and no flowers
If plants get tall and floppy without blooming well, the most likely culprits are insufficient sun, skipping the pinching routine, or pinching too late in the season. Move plants to a full-sun location in spring if shade is the problem. If you missed pinching entirely one year, commit to the schedule starting the following spring, you won't fix it mid-season. Nearby streetlights or porch lights can also interrupt the plant's night length and delay or prevent flowering, so site placement matters.
Yellowing leaves
Yellow leaves mid-season usually mean one of three things: overwatering and root rot, nitrogen deficiency, or a fungal issue starting at the base. Check the soil moisture first, if the ground around the plant stays soggy, drainage is the problem to fix. If soil moisture is fine, apply a balanced fertilizer and see if new growth comes in green. If yellowing starts at the lower leaves and moves upward with any spotting or lesions, suspect a fungal disease.
Fungal diseases
Powdery mildew, botrytis, and septoria leaf spot are the most common fungal problems on outdoor mums. All three thrive in humid conditions with poor airflow. Prevention is much easier than treatment: space plants properly (18 to 24 inches apart), water at the base, avoid overhead irrigation, and remove and dispose of any infected foliage rather than composting it. If a fungal problem is already established, a copper-based fungicide or neem oil applied every 7 to 10 days can slow the spread. Heavily infected plants rarely make a full recovery in the same season.
Common pests
- Aphids: Cluster on new growth and buds; knock off with a strong water spray or apply insecticidal soap. Check the undersides of leaves.
- Spider mites: Thrive in hot, dry conditions; look for fine webbing and stippled leaves. Increase humidity around plants and apply neem oil.
- Leaf miners: Leave distinctive winding trails inside leaves; remove and destroy affected leaves. Insecticides don't penetrate the leaf tissue where larvae hide.
- Caterpillars and earwigs: Chew ragged holes in leaves and buds; hand-pick at dusk when they're active, or use Bacillus thuringiensis (Bt) for caterpillars.
- Chrysanthemum gall midge: Causes small conical swellings on leaves; remove and destroy affected growth immediately to prevent spread.
Most outdoor mum problems are preventable with good site selection and consistent early-season care. The gardeners who struggle most are usually the ones who bought fall-blooming plants in October, stuck them in the ground without any prep, and expected them to return the next year. Start in spring, give them full sun, keep up with pinching, and you'll have plants that reliably reward you with a full flush of fall color year after year. If you're playing Animal Crossing: New Horizons, the steps for how to grow green mums in ACNH can help you plan the same kind of consistent growth routine at home.
FAQ
Can I plant a mum I buy in October and still get it to come back next year?
Yes, but only if you treat them as short-term plants. If you want to overwinter in the ground, buy garden mums (not florist mums) labeled for outdoor hardiness, plant in spring, and avoid the common mistake of planting late-fall blooming stock in October and expecting it to root and survive before freeze-up.
When should I mulch mums for winter, and is it ever too early?
Winter mulch should be added after the ground actually freezes in your area. Adding mulch too early can trap moisture and encourage crown rot, which is one of the most frequent reasons outdoor mums die even when the variety is hardy.
Should I deadhead mums to get more blooms?
Deadhead only after the flowers are finished, not as a substitute for pinching. For fall bloom, pinching controls branching, while deadheading mostly improves appearance and can prevent some self-sowing, but it will not restart flowering if pinching was skipped earlier.
What happens if I miss the pinching dates, can I catch up mid-season?
If you miss pinching entirely, you generally cannot “fix it” that same season. The practical approach is to let it bloom as-is for the current year, then start the pinching schedule next spring so the plant builds the branching framework for a heavier fall show.
Is it really that bad if I water from above sometimes?
Overhead watering is a common cause of leaf diseases like botrytis and septoria. Water at the base with a soaker hose or careful hand watering, and if you water late in the day, you increase the time foliage stays damp.
Why do my outdoor mums in pots bloom less than the in-ground plants?
Mums often struggle in containers if the mix stays wet or dries out too fast. Use a fast-draining potting mix, ensure plenty of drainage holes, and keep watering consistent so the top inch doesn’t fully dry, since both drought stress and waterlogging can reduce flowering.
How close to buildings, fences, or lights can I plant mums and still get fall blooms?
For the best chance of overwintering, keep plants in full sun and avoid placing them near strong heat sources or lighting that extends night length. Even a porch light on at night can interfere with flowering timing, which is why site placement matters as much as fertilizing.
If my mum is labeled hardy, why does it still die over winter?
A hardy mum that’s truly cold-tolerant in your region can survive, but a plant can still fail from crown rot if soil drains poorly or if it is heaved up by freeze-thaw cycles. Improve drainage and avoid late fall planting, because winter kill is usually the combination of stress plus moisture.
Will feeding and watering schedules for mums be different in containers?
Yes, but only if you can maintain the nutrient and moisture demands consistently. In-ground plants generally handle swings better, while containers need a steadier watering rhythm and careful feeding, because leaching can strip nutrients quickly and dry-out can halt growth.
My yard is heavy clay, what’s the best way to protect mums from freeze-thaw?
Do not cover newly planted mums with mulch right away if the soil is still warm and wet. Wait until after the ground freezes, and consider a raised bed if your yard tends to stay soggy after rain, since wet soil that freezes and heaves the crown is a top failure mode.
Next Article
How to Grow Green Mums in ACNH Step by Step
Step-by-step guide to breed and grow ACNH green mums, with setups, watering, breeding rules, and fixes for wrong colors