Growing perennials successfully comes down to three things: picking plants matched to your climate and conditions, planting them correctly the first time, and learning the rhythm of their growth so you know what's normal and what needs fixing. Get those right, and perennials will reward you with blooms year after year with far less work than annuals ever will.
How to Grow Perennials: Planting, Care, and Troubleshooting

Harriet Whitmore
23 May 2026

Choose the right perennials for your site and climate
Before you buy a single plant, look up your USDA Plant Hardiness Zone. You can do this in about thirty seconds by entering your ZIP code in the Quick Zip Code Search on the USDA Plant Hardiness Zone Map website. Every perennial sold at a nursery or online will list a hardiness zone range. If your zone falls within that range, the plant can survive your winters. If it doesn't, you're fighting uphill from day one.
That said, hardiness zones don't tell the whole story for your specific yard. The USDA map is detailed down to about a half-mile resolution, but your backyard can have pockets that are noticeably warmer or colder than what the map shows. A south-facing bed against a brick wall holds heat and can behave like a zone warmer. A low spot where cold air pools can kill plants that should technically be fine. WSU Extension research on microclimates confirms that air moisture, soil moisture, and light levels can vary significantly within a single yard. So before you plant, walk your space and honestly assess where the sun hits for how long, where it stays wet after rain, and where frost settles first.
Once you know your zone and your site conditions, match plants to what you actually have rather than what you wish you had. If a spot gets four hours of sun, plant shade-tolerant perennials there, not sun-lovers that will sulk and refuse to bloom. Here's a quick framework to guide your choices:
- Full sun (6+ hours): coneflowers (Echinacea), black-eyed Susans, lavender, catmint, coreopsis
- Part shade (3-6 hours): astilbe, hostas, coral bells (Heuchera), bleeding heart
- Full shade: ferns, Solomon's seal, sweet woodruff, lungwort
- Dry/drought-prone sites: sedums, yarrow, Russian sage, agastache
- Wet or clay-heavy soil: Joe-Pye weed, cardinal flower, iris, swamp milkweed
Resist the urge to start with a dozen different species. Pick two or three that fit your conditions and learn them well. Once those are thriving, add more. I've killed plenty of plants by buying what looked pretty at the garden center without thinking about whether my yard could actually support it.
Decide how you'll start them: seed vs. nursery plants
You have two main options for getting perennials into the ground: starting from seed or buying nursery-grown transplants. Both work, but they're very different experiences with different timelines and tradeoffs.
| Factor | Starting from Seed | Nursery Transplants |
|---|---|---|
| Cost | Very low (a packet costs $2-5) | Higher ($5-15+ per plant) |
| Time to first bloom | Often 2-3 years | Usually bloom in first or second season |
| Variety selection | Wide, including rare varieties | Limited to what the nursery stocks |
| Effort required | High (stratification, indoor starts, thinning) | Low (dig, plant, water) |
| Best for beginners? | Not ideal for most perennials | Yes, strongly recommended |
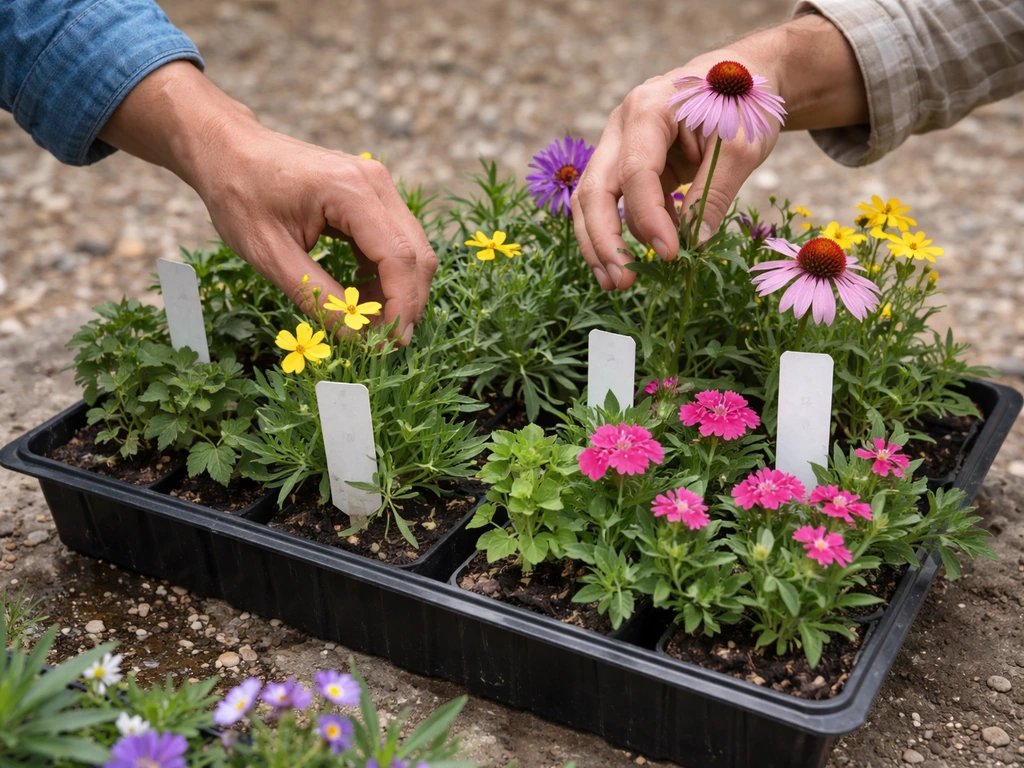
For most beginners, nursery transplants are the right call. You skip the most frustrating early steps, you get established root systems, and you're much more likely to see blooms in the first year or two. Seeds make sense if you're working with a large area on a tight budget, or if you specifically want a variety that isn't sold locally.
If you do go the seed route, know that most perennials need stratification, which means a cold, moist period that mimics winter before they'll germinate. You can cold-stratify seeds in damp paper towels in the refrigerator for 4-12 weeks depending on the species, or direct-sow them outdoors in fall and let nature do it. Some perennials, like columbine and black-eyed Susan, are forgiving and easy from seed. Others, like lavender or baptisia, are notoriously slow and finicky.
One more option worth knowing: division. If a neighbor or fellow gardener has an established clump of something you want, ask if you can divide it in spring or fall. You'll get a free, already-adapted plant, and they'll get a tidier garden. It's genuinely one of the best ways to expand a perennial garden.
Soil prep and planting steps
When to plant
Spring and fall are the two ideal planting windows for perennials, and honestly fall is underrated. Planting in early fall (about 6-8 weeks before your first frost) gives roots time to establish in cool soil before winter, and plants come back strong the following spring. Spring planting works well too, especially for cold-sensitive species, but summer heat can stress newly planted perennials if you're not diligent with watering. Avoid planting anything in mid-summer heat if you can help it.
How to prepare the soil
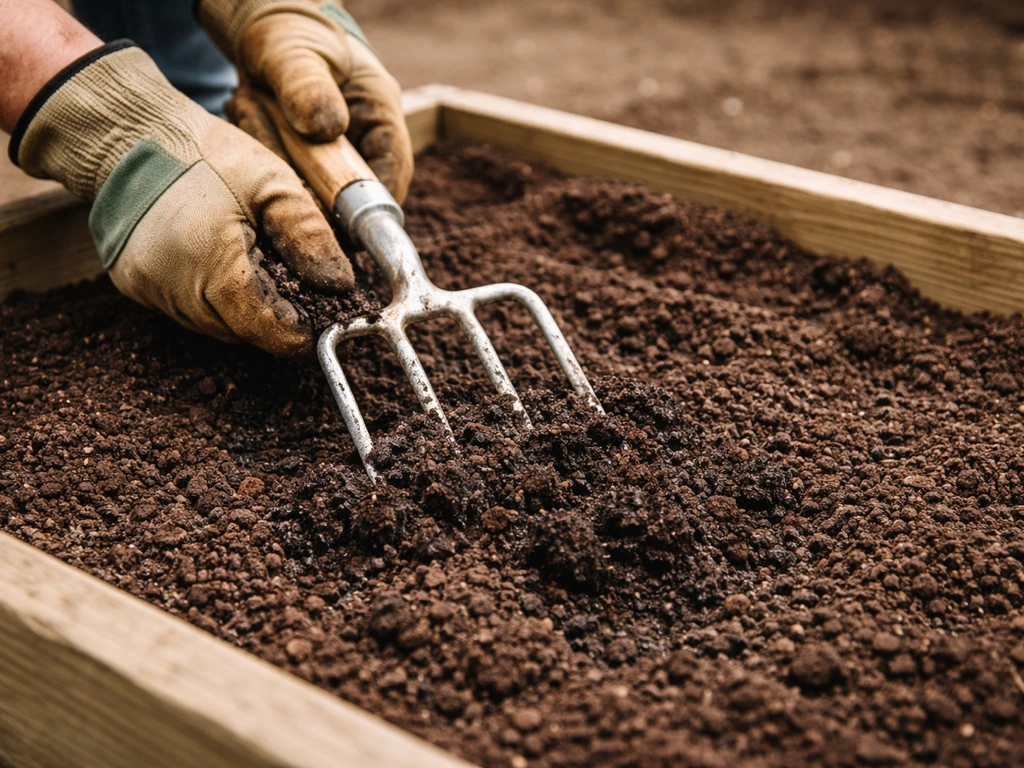
Most perennials want well-draining soil with a pH between 6.0 and 7.0. Before planting, dig down 12-18 inches and work in 2-4 inches of compost or aged organic matter. This improves drainage in heavy clay soils and water retention in sandy soils. If you're unsure about your soil's pH or nutrient levels, a basic soil test kit from a garden center costs about $10-15 and takes the guesswork out of amendments.
One thing I've learned the hard way: don't skip the drainage check. Dig a hole about 12 inches deep and fill it with water. If it doesn't drain within an hour, you've got drainage problems. Most perennials (except bog plants) will rot and die in waterlogged soil. Raised beds or mounded planting areas are an easy fix.
Planting depth, spacing, and technique
The number one planting mistake is setting the crown (the point where stems meet roots) too deep. For virtually all perennials, the crown should sit right at or just slightly above the soil surface. Burying it can cause crown rot and kills plants that would otherwise have thrived. When planting a container-grown transplant, dig the hole to match the container's depth, loosen the root ball gently if it's pot-bound, set the plant in, and backfill without mounding soil over the crown.
Spacing matters more than it seems when plants are small and new. A young coneflower looks lonely with 18 inches of bare soil around it, but in two or three years it'll need that space. Follow the tag spacing for each species. Overcrowding reduces airflow, increases disease risk, and leads to weak, floppy plants competing for resources.
- Dig a hole as deep as the container and 1.5-2x as wide
- Loosen any circling or compacted roots before placing the plant
- Set the crown at or just above soil level
- Backfill with the original soil plus a handful of compost
- Firm gently around the base (no air pockets) and water deeply right away
- Apply 2-3 inches of mulch, keeping it away from the crown
Watering and fertilizing for strong establishment
The first growing season is all about root development, and that means consistent moisture is your top priority. For the first 4-6 weeks after planting, water deeply two to three times a week if rainfall doesn't do it for you. Deep watering (slow and thorough, reaching 6-8 inches down) encourages roots to grow downward rather than staying shallow near the surface. Shallow roots mean stress during dry spells. Once established (usually by the end of the first season), most perennials are much more drought-tolerant and need far less from you.
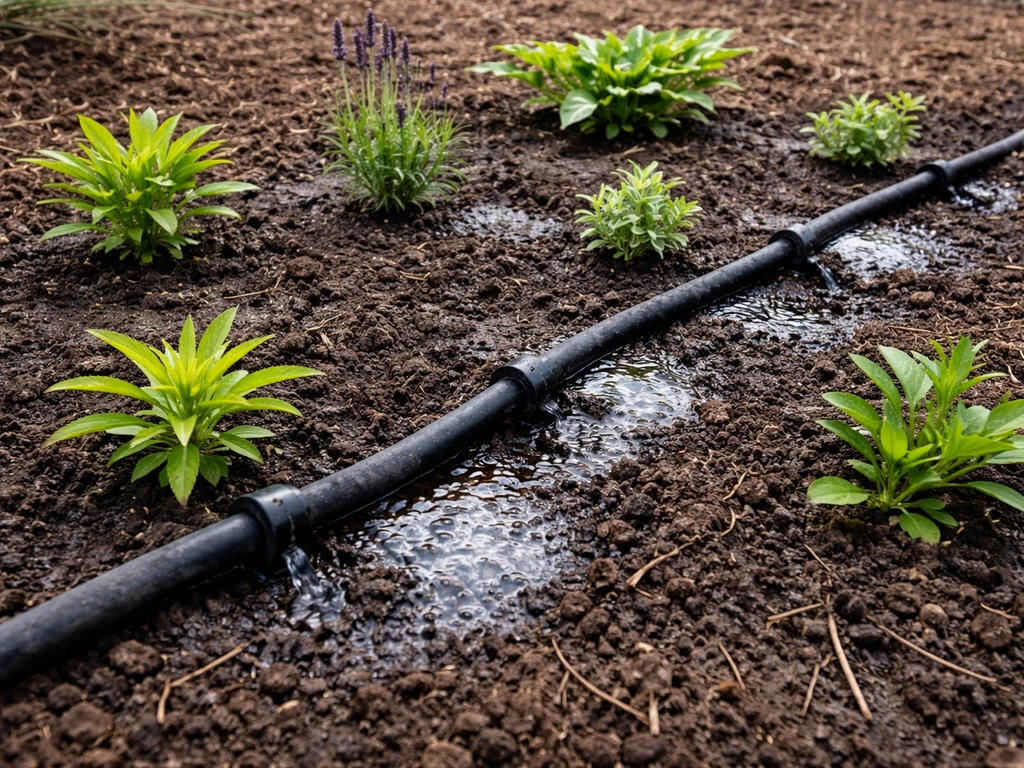
A drip system or soaker hose at the base of plants is worth setting up if you're planting more than a handful. It delivers water to roots rather than foliage, which reduces fungal disease risk. Overhead watering in the evening, when foliage stays wet overnight, is a reliable way to invite powdery mildew and other problems.
For fertilizing, a light application of a balanced granular fertilizer (something like 10-10-10) worked into the soil at planting is usually enough to get roots going. In the first season, I'd rather err on the side of less fertilizer than more. Heavy nitrogen at planting pushes lush top growth at the expense of root development, which is the opposite of what you want. A slow-release fertilizer applied in early spring each subsequent year is a simple, low-effort way to support healthy growth and repeat blooms.
Sunlight, pruning, and feeding for repeat blooms
Getting perennials to bloom reliably year after year isn't complicated, but it does require understanding how each type flowers. Some perennials bloom once per season and that's it. Others will rebloom if you deadhead them (remove spent flowers before they set seed). Coreopsis, salvia, and many geranium varieties are excellent reblooomers when you keep up with deadheading. If you want Martha Washington geraniums specifically, focus on their light, watering, and pruning needs so they rebloom reliably many geranium varieties. Hostas and astilbe bloom once and put their energy into foliage after that.
Sunlight placement is non-negotiable for flowering. A sun-loving perennial in too much shade will grow foliage but produce few or no blooms. If a plant is getting leggy (tall and floppy with sparse flowers), it's almost always reaching for more light. Don't assume the problem is nutrition before you check the light situation.
Cutting back after the first flush of blooms on reblooming varieties encourages a second wave. For most plants, cut back by one-third to one-half. Some gardeners use the 'Chelsea chop' technique, cutting back certain late-season perennials by half in late spring to delay bloom time and keep plants more compact. It's a useful trick for tall species like Joe-Pye weed or tall phlox that tend to get floppy.
Feed perennials once in early spring when new growth emerges using a balanced slow-release granular fertilizer. A light top-dressing of compost around the crown is another option that also improves soil structure over time. Avoid heavy feeding in late summer, which can push tender new growth that gets damaged by early frosts.
Season-by-season maintenance and winter protection
Spring
In spring, the main job is cleanup and getting plants off to a good start. If you left stems and seedheads standing over winter for wildlife habitat (which UNH Extension recommends), now is the time to cut them back. You can cut perennials back to around 15 inches above the ground in spring, letting new growth push up from the base. Pull back any winter mulch as temperatures warm so the soil can warm up and crowns don't stay too moist. Apply your spring fertilizer once you see several inches of new growth.
Summer
Summer is about maintaining momentum: deadheading spent blooms, monitoring for pests, watering during dry spells, and staking any tall plants that need support before they flop. Get stakes in early, when plants are still growing, rather than after they've already fallen over. Check soil moisture at the root zone rather than going by surface appearance. If the top inch is dry but the soil at 3-4 inches is still moist, the plant is usually fine.
Fall
Fall is prime time for dividing established clumps that have gotten overcrowded (typically every 3-4 years), planting new additions, and prepping for winter. Stop fertilizing about 6 weeks before your first expected frost so you're not pushing soft new growth that will get nipped. Leave most stems and seedheads standing rather than cutting everything to the ground. They provide winter interest, protect crowns from freeze-thaw cycles, and support overwintering insects.
Winter
Once the ground has frozen, apply 2-4 inches of mulch (straw, shredded leaves, or wood chips) over the crowns of borderline-hardy plants or any new plants in their first winter. The goal isn't to keep roots warm so much as to prevent the freeze-thaw heaving that can literally push shallow-rooted plants out of the ground. In zones 5 and colder, tender plants like certain salvias or some ornamental grasses benefit the most from this protection. Established, well-adapted perennials in the right zone generally need little or no winter intervention.
Troubleshooting common problems
Plant won't bloom
This is the most common frustration with perennials, and it usually has a simple cause. First check light: is the plant getting the minimum hours it needs? Second, check age: many perennials don't bloom in their first year, especially those started from seed. Third, look at fertilizer history. Too much nitrogen produces lots of leaves and no flowers. Finally, check if the plant needs dividing. An overcrowded, root-bound clump often stops flowering until it's divided and given fresh soil.
Wilting and weak growth
Wilting in newly planted perennials is often transplant shock rather than a watering problem. The plant is adjusting to its new environment and its root system isn't yet able to meet the demands of the foliage above. Shade it temporarily, keep moisture consistent (not waterlogged), and give it a week or two. If it doesn't recover, dig it up and check the roots. Brown, mushy roots mean root rot from overwatering or poor drainage. White or light tan, firm roots mean the plant is alive and just needs time.
Winter die-back
Some die-back in spring looks alarming but is totally normal. Perennials go dormant; the tops die and regrow from the roots. The real problem is when nothing at all comes back. Causes include: planting a species outside its hardiness zone, crown rot from sitting in wet soil all winter, or frost heaving that exposed and killed the roots. The fix for future seasons is matching plants to your zone, improving drainage, and mulching after the ground freezes.
Pests and disease

The most common pest issues on perennials are aphids (soft-bodied clusters on new growth), slugs (holes in leaves, slime trails), and Japanese beetles (skeletonized foliage). Aphids are easily knocked off with a strong jet of water or treated with insecticidal soap. Slugs are controlled with iron phosphate bait or by reducing mulch depth and improving drainage. Japanese beetles are most effectively managed by hand-picking in the morning when they're sluggish.
Fungal diseases like powdery mildew (white coating on leaves) and botrytis (gray mold) are almost always caused by poor airflow and wet foliage. The fix is prevention: proper spacing, morning watering at the base, and cutting back infected stems. Some phlox and bee balm varieties are bred for mildew resistance. If disease is recurring in a specific spot, that's usually a signal the plant isn't right for that location.
Common mistakes to avoid
- Planting too deep: the crown should be at or just above soil level, not buried
- Overwatering established plants: once settled in, most perennials want to dry out a bit between waterings
- Cutting everything back in fall: leaving stems over winter protects crowns and supports wildlife
- Ignoring the hardiness zone: a beautiful plant from a warmer zone will die in your winters no matter how well you care for it
- Skipping division: clumps that aren't divided every few years weaken and stop blooming
- Over-fertilizing with nitrogen: pushes leafy growth at the expense of flowers
What to do this week and this season
If it's spring right now, you're in the best window to act. Here's a practical sequence to get started:
- Look up your USDA hardiness zone using your ZIP code
- Observe your planting area for a day and note how many hours of direct sun it gets
- Test or assess your soil drainage (the water-in-a-hole test takes 15 minutes)
- Choose two or three perennials matched to your zone, light level, and soil type
- Buy nursery transplants rather than seeds if this is your first season with perennials
- Prep the soil with compost before planting weekend
- Plant at the correct depth, water deeply, and apply mulch
- Set a recurring reminder to check soil moisture twice a week for the first month
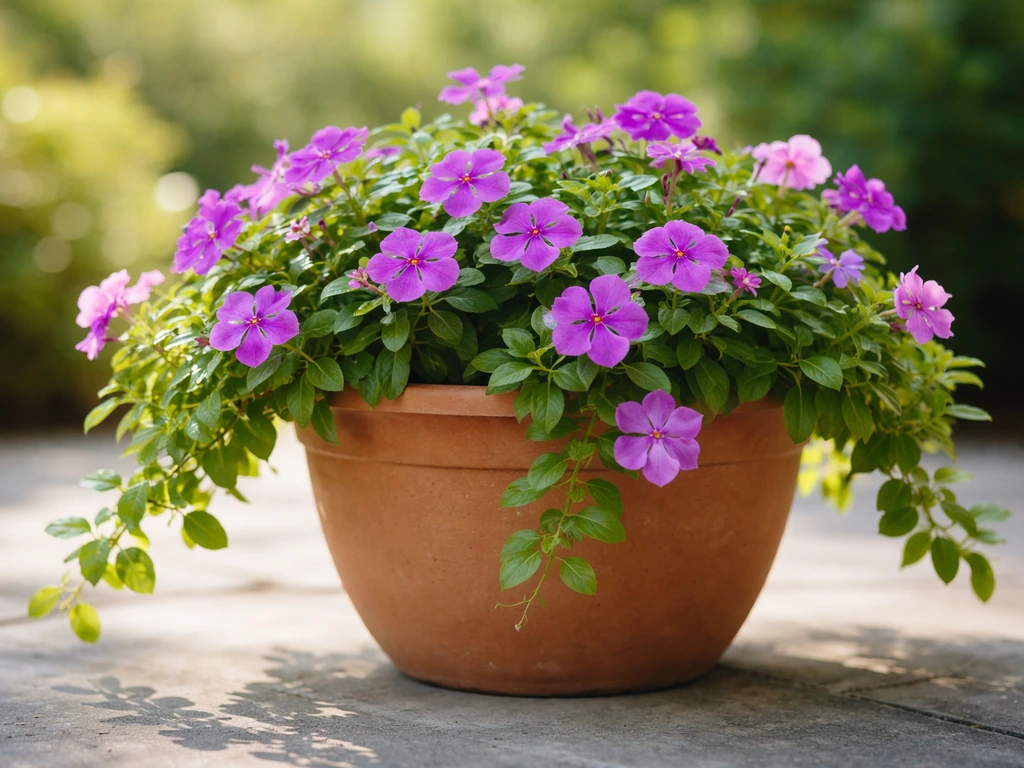
Perennials are genuinely one of the most rewarding things to grow because the investment compounds. The work you put in this season pays off for years. Species like perennial geraniums are a great starting point for beginners because they're adaptable, forgiving, and bloom reliably. If you want to specifically grow geraniums from plugs, the key is treating them like nursery plants: plant at the right depth, keep the soil evenly moist while they establish, and avoid letting the crowns sit wet perennial geraniums. If you want to dig deeper into specific types, exploring guides for individual species (like perennial geraniums or periwinkle) will give you the exact timing and care details tailored to that plant. But the fundamentals above apply across the board, and if you follow them, you'll avoid most of the frustrations that make people give up on perennials too soon.
FAQ
How do I choose perennials if my yard has both sun and shady areas that change through the day?
Treat it like micro-zones. Track where each bed gets sun for a full day, then match plants to the lowest light area they will tolerate. If a plant is right on the edge, give it a spot with morning sun (often better for blooms and drying) and more protection from afternoon heat if summers are harsh.
Can I grow perennials in containers, and does the care change?
Yes, but you must plan for faster drying and limited root space. Use a pot with good drainage holes, a quality potting mix, and check moisture more often than in-ground plants. In containers, overwatering still causes crown rot, but underwatering is also common, so aim for consistently moist (not soggy) during the establishment period.
What should I do if my perennial looks healthy but still won’t bloom?
Run a quick checklist in this order: light first (too little sun is the most common), then plant age (many need a season or two), then fertilizer (excess nitrogen), and finally spacing (overcrowding reduces flowering). Also consider that some plants bloom only after vernalization, meaning they may not flower reliably if their winter chilling needs are not met.
How often should I water established perennials once the first season is over?
Use deep, less frequent watering based on weather and soil, not a daily schedule. A practical approach is to water only when the top couple inches are dry and the plant shows mild stress, then soak thoroughly. In heavy clay, water less often but longer, and prioritize drainage, since roots in waterlogged soil rot even if you are “watering correctly.”
Is deadheading always necessary to get more blooms?
For many rebloomers, yes, but not all perennials respond the same way. If a plant naturally blooms once per season, deadheading may clean it up but won’t create a second flush. When in doubt, focus on the plant type, and only deadhead once flowers are spent, not while they still have buds forming.
When is the best time to divide perennials, and what if I need to do it mid-season?
Spring or fall is ideal because temperatures are moderate and roots can recover. If you must divide outside those windows, do it on a cool, cloudy day and keep the new divisions evenly moist until they root. Expect reduced flowering the following season, especially for plants that flower early in spring.
My newly planted perennial keeps wilting, even though the soil isn’t bone-dry. Could it be root rot?
It can be. Wilting can come from both drought stress and root damage. Check drainage and the root ball: if roots are brown, mushy, and smell sour, it is likely rot from excess moisture or poor drainage. In that case, improve drainage, reduce watering frequency, and consider relocating to a raised area rather than just watering more.
How can I prevent crown rot without overcorrecting?
Set the crown at or slightly above the soil surface, and avoid mounding soil over it. When mulching, keep mulch a couple inches away from the crown so moisture doesn’t sit there. Also make sure your watering targets the root zone at the base, not the foliage and crown.
Do I need to fertilize perennials every year?
Usually no heavy feeding is needed. A light early-spring application is typically enough, especially if you amended with compost at planting. If your plants are thriving, you can often skip fertilizer and rely on compost top-dressing. The exception is for heavy feeders in containers or very nutrient-poor soil where you have a documented deficiency.
What winter protection should I use, and how much mulch is too much?
For most in-zone, established perennials, little is needed. For borderline-hardy or newly planted plants, apply 2 to 4 inches of mulch after the ground freezes to prevent freeze-thaw heaving. Avoid piling mulch against the crown, and don’t mulch early when the soil is still warm, because that can keep crowns too moist and raise rot risk.
How do I tell the difference between normal spring die-back and a plant that failed?
Normal die-back usually means you see at least some basal regrowth from the crown over time. If there is no new growth and the crown feels soft, blackened, or falls apart easily when gently inspected, that points to rot or winter kill. When you suspect failure, resist pulling immediately, give it time for slow regrowth, then reassess crown health after a few weeks.
What’s the safest way to handle pests like slugs and aphids without harming beneficial insects?
Start with the least disruptive option. For aphids, knock them off with a strong water jet or use insecticidal soap, and apply in the morning so beneficial insects are less active. For slugs, use targeted approaches like iron phosphate bait and reduce hiding spots by adjusting mulch depth and improving drainage, rather than broad-spectrum spraying.
Next Article
How to Grow Periwinkle: Pots, Seeds, and Flowering Tips
Step-by-step how to grow periwinkle in pots or from seed, with timing, germination tips, and fixes for flowering.