Angelonia is one of the most rewarding heat-loving annuals you can grow from seed, but it has a few non-negotiable requirements: surface sowing (seeds need light to germinate), warm soil between 70 and 75°F, and patience with a germination window that runs anywhere from 4 to 14 days depending on conditions. Get those right and you'll have blooming plants from late spring all the way through fall.
How to Grow Angelonia From Seed Step by Step Guide

Harriet Whitmore
13 May 2026
What angelonia actually needs to thrive

Angelonia angustifolia is native to Mexico and the West Indies, which tells you a lot about what it wants: full sun, heat, and soil that drains fast. It's sometimes called summer snapdragon because the flower spikes look similar, but angelonia is far more heat-tolerant than a true snapdragon. While snapdragons tend to fade when summer really heats up, angelonia hits its stride. null growing dragon wing begonias.
For soil, aim for a pH of 5.5 to 6.0. That slightly acidic range keeps nutrients available and reduces the risk of yellowing leaves later in the season. Well-draining soil is non-negotiable. Angelonia absolutely does not tolerate standing water or soggy roots. Whether you're growing in the ground or in containers, drainage comes first. In containers, skip any pot without drainage holes entirely.
Light matters just as much. Angelonia is classified as a high-light crop, meaning anything less than full sun (at least 6 hours of direct sun per day) will result in leggy, sparse growth and far fewer flowers. If you're in a hot southern climate, a little afternoon shade won't hurt, but shade-heavy spots are a recipe for disappointment.
Starting angelonia from seed: timing and setup
Start seeds indoors 6 to 8 weeks before your last expected frost date. In most of the US, that puts indoor seed starting somewhere between late February and early April. Angelonia is frost-sensitive, so there's no benefit to rushing transplants outside before nighttime temperatures are reliably above 50°F.
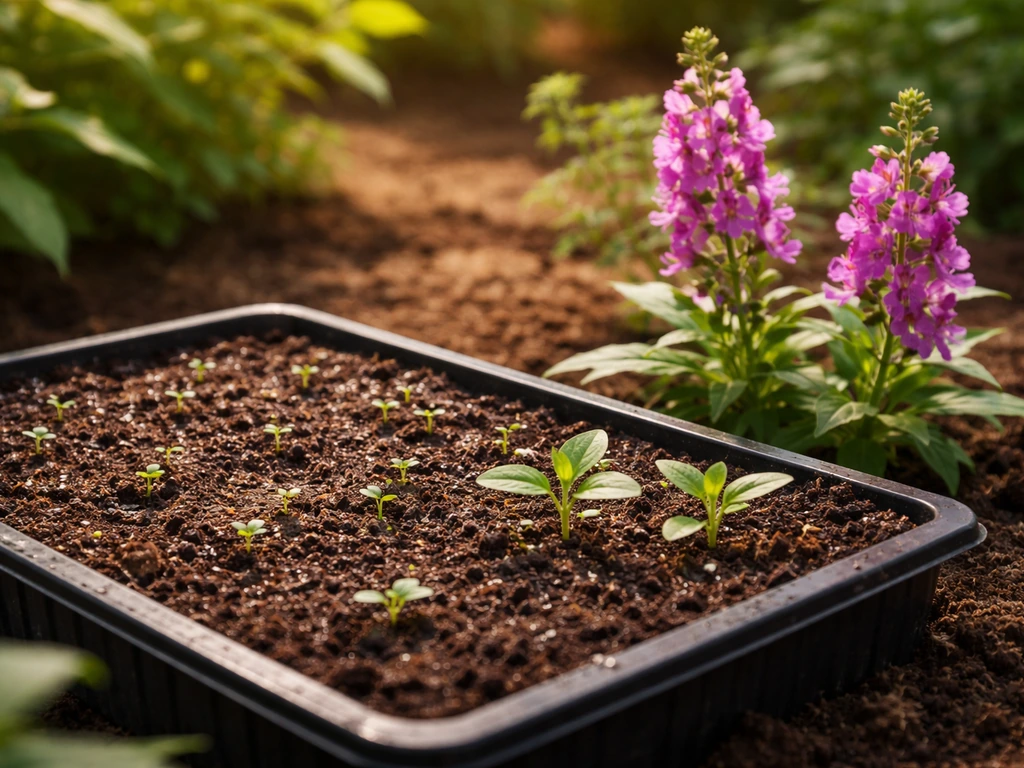
For containers, shallow plug trays or 72-cell seed trays work well. You don't need deep cells because the seeds are tiny and germinate at the surface. Fill the tray with a quality seed-starting mix (not regular potting soil, which is too dense) and moisten it thoroughly before you sow. The mix should feel like a wrung-out sponge, damp but not dripping.
Here's the part a lot of beginners miss: angelonia seeds need light to germinate. Do not cover them with soil. Press each seed gently onto the surface of the moistened mix to ensure good seed-to-soil contact, then stop there. Burying the seeds even slightly reduces germination rates and increases the risk of rot. I've made that mistake and ended up waiting three weeks for almost nothing to emerge.
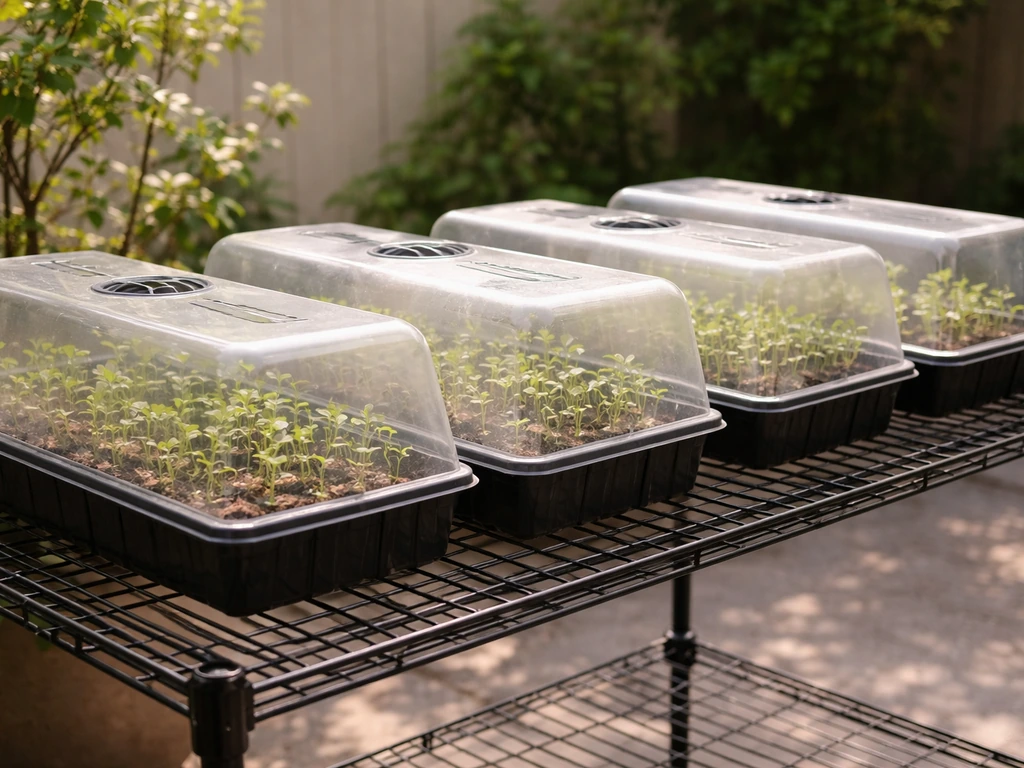
Soil temperature is the other critical factor. The germination sweet spot is 70 to 75°F (21 to 24°C) soil temperature, not just air temperature. A heat mat set to that range makes a real difference, especially if your home runs cool in late winter. Place the tray on the mat, then cover it loosely with a clear plastic dome or plastic wrap to hold in humidity while germination happens.
Bottom watering is the best method during germination. Pour water into the tray below the cells and let the mix absorb from the bottom up. This keeps the tiny surface-sown seeds from being washed around or buried by watering from above. Keep the mix consistently moist but never waterlogged.
Germination: what to expect and what to do when it goes wrong
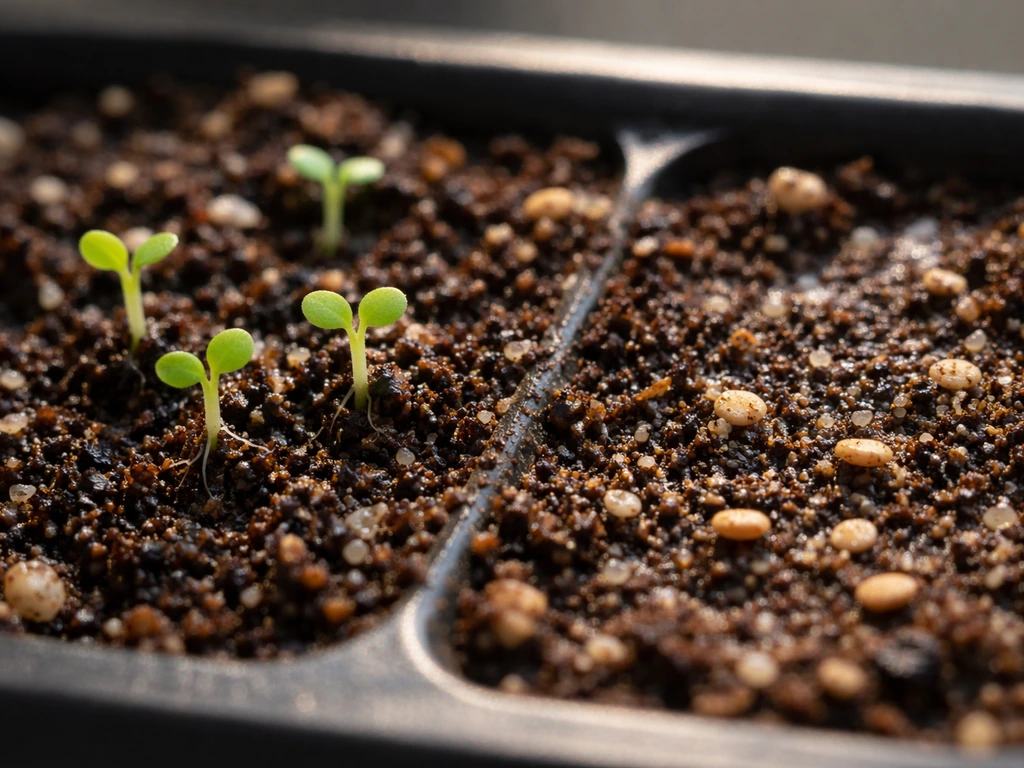
Under ideal conditions (soil at 72 to 76°F, seeds at the surface with good light), angelonia can germinate in as little as 4 to 5 days. More realistically in a home setup, expect 10 to 14 days. If you're past the two-week mark with no sign of life, something in the environment is off.
The most common germination failures and how to fix them
- Seeds buried too deep: If you covered the seeds even lightly, they may not have enough light to trigger germination. Gently brush the surface to expose them and keep the dome on to maintain humidity.
- Soil too cold: Check your heat mat setting and confirm the soil temperature (not the air above it) with a probe thermometer. Dropping below 65°F significantly slows or stops germination.
- Mix dried out: Angelonia seeds sitting on a dry surface won't germinate. Bottom water twice a day if needed to keep the mix evenly moist without disrupting seeds.
- Damping off before emergence: If seeds seem to sprout then disappear, preemergence damping off may be the culprit. Pathogens like Pythium thrive in waterlogged, poorly ventilated conditions. Improve airflow, reduce watering frequency, and consider using a new sterile seed-starting mix.
- Poor seed viability: Angelonia seed viability decreases quickly. Use fresh seed from the current season whenever possible and check the packet date.
Once seedlings do emerge, remove the plastic dome and move the tray immediately under bright light. This is where a lot of growers lose momentum. Seedlings that sit in dim light after germination become leggy fast, stretching toward any light source and developing weak stems. Put them 3 to 4 inches below fluorescent or LED grow lights running 16 hours on, 8 hours off. A sunny south-facing window can work, but grow lights give you much more consistent results at this stage.
Hardening off and transplanting into the garden or containers
Hardening off is the process of gradually getting your indoor-grown seedlings used to outdoor conditions before you plant them permanently. Skipping this step is one of the most common reasons transplants fail. Seedlings raised under artificial lights in a warm house are not ready for direct sun, wind, and fluctuating temperatures.
About 7 to 10 days before your planned transplant date, start setting seedlings outside in a sheltered, partially shaded spot for a couple of hours each day. Over the week, gradually increase their outdoor time and move them into more sun. By the end of the hardening period, they should be spending most of the day outside without wilting. If a cold snap is forecast (below 50°F), bring them back in. Angelonia does not handle frost.
When transplanting into garden beds, space plants 12 to 18 inches apart. Angelonia gets bushy and needs good air circulation. In containers, a 12-inch pot can hold one plant comfortably, or you can go larger and pair it with companions. Use well-draining potting mix with a pH around 5.5 to 6.0, and work a slow-release balanced fertilizer (such as a 10-10-10 or 14-14-14 granular) into the soil at planting time.
After transplanting, pinch the growing tips back to encourage branching. Professional growers pinch at week 3 to 4 in the liner or at the time of transplant, and the same approach works for home gardeners. It feels counterintuitive to remove growth you waited weeks to see, but pinching now produces a fuller, better-branching plant with far more flowers later.
Caring for angelonia after it's in the ground
Watering
For the first week or two after transplanting, water regularly to help roots establish. After that, angelonia is surprisingly drought-tolerant. The general rule is to water when the top couple of inches of soil feel dry. In hot weather, that might be every 2 to 3 days for containers (which dry out faster than in-ground beds) and once a week or less for established in-ground plants. Avoid watering at night, and never let roots sit in standing water. Root rot from overwatering is more of a threat to angelonia than dry spells.
Fertilizing
If you worked a slow-release granular fertilizer into the soil at planting, that covers you for the first month or two. After that, supplement with a balanced liquid fertilizer every 4 weeks during the growing season. Avoid going heavy on nitrogen, which pushes leafy growth at the expense of flowers. Yellowing leaves mid-season often point to pH creeping outside the 5.5 to 6.0 range rather than a nutrient deficiency itself, so it's worth testing soil pH if plants start looking pale.
Deadheading and pruning
Many modern angelonia varieties have a self-cleaning habit, meaning spent flowers drop on their own without much help. But if your variety is producing seed heads that aren't falling away, deadheading encourages the plant to keep making new flower spikes rather than diverting energy into seed production. You can also shear plants back by about one-third if they get leggy or if flowering slows in midsummer. This often triggers a fresh flush of blooms within a few weeks.
Flowering timeline and troubleshooting a plant that won't bloom
When you start seeds 6 to 8 weeks before the last frost and transplant after danger has passed, you can reasonably expect your first flowers 10 to 14 weeks from sowing, which puts most gardeners at early to mid-summer. Once angelonia starts blooming, it typically flowers continuously from late spring through fall with proper care. If you are also growing a butterfly bush, use similar sunlight-focused care and prune to shape for strong, repeated blooms how to grow buddleia butterfly bush.
If your plants are growing but not blooming, run through this checklist before assuming something is seriously wrong.
- Not enough sun: This is the number-one cause of bloom failure. Move containers to a sunnier location or reassess your planting spot. Less than 6 hours of direct sun per day will noticeably reduce flowering.
- Too much nitrogen: Overfertilizing with high-nitrogen formulas promotes lush green growth at the cost of flowers. Cut back on feeding and switch to a fertilizer with a higher phosphorus middle number.
- Plants are too young: If you transplanted recently, give it a couple more weeks. Plants that were just moved outside are settling in before they flower.
- Weather is still too cool: Angelonia is a warm-season plant. If nights are still running below 55°F, flowering will be delayed until conditions warm up.
Common problems and how to handle them
| Problem | Likely Cause | Fix |
|---|---|---|
| Leggy seedlings | Insufficient light after germination | Move under grow lights 3–4 inches from the canopy, 16 hours/day |
| Seedlings collapse at soil line | Damping off (Pythium, Rhizoctonia) | Improve airflow, reduce moisture, use sterile seed-starting mix, avoid overcrowding |
| Seeds never sprout | Covered seeds, cold soil, or dry mix | Check soil temp (70–75°F), surface-sow only, keep mix moist, use fresh seed |
| Yellow leaves | pH out of range or overwatering | Test soil pH (target 5.5–6.0), let soil dry slightly between waterings |
| Powdery mildew | Poor airflow, humidity | Improve spacing, apply neem oil or a copper-based fungicide |
| Aphids or spider mites | Dry conditions, stressed plants | Spray insecticidal soap or neem oil, target undersides of leaves |
| No flowers despite healthy plants | Too much shade or excess nitrogen | Relocate to full sun, switch to a balanced or bloom-booster fertilizer |
| Wilting despite moist soil | Root rot from overwatering or poor drainage | Reduce watering, improve drainage, check roots for brown mushy tissue |
Angelonia is genuinely low-maintenance once it's established and in the right conditions. If you are looking for the closest flowering alternative with butterfly-attracting blooms, you may also want to learn how to grow a butterfly bush Angelonia. The vast majority of problems home gardeners run into trace back to three things: blank" rel="noopener noreferrer">sowing seeds too deep, keeping seedlings in too little light, or overwatering established plants. Nail those three and you're most of the way there.
If you enjoy growing plants with similar summer-heat tolerance and continuous bloom habits, you might also explore begonias as companions or alternatives for spots that get slightly less sun. Angel wing begonias and wax begonias are both worth considering for shadier areas where angelonia would struggle. Angel wing begonias like similarly bright, warm conditions, so their growing approach overlaps in several practical ways.
For full-sun spots and pollinator-friendly plantings, angelonia pairs especially well with other heat-tolerant annuals and perennials that share its preference for well-drained soil and low water needs once established. To learn the full process from seed through planting, see our guide on how to grow a butterfly bush. For gardeners wondering how to grow buddleia butterfly bush, the key is choosing a sunny site and providing well-drained soil, then keeping watering and pruning consistent as the plant settles in.
Your next step is simple: check your last frost date, count back 6 to 8 weeks, and order fresh seed now if you're in that window. Set up a heat mat and shallow tray, press the seeds onto moistened starting mix without covering them, and put the tray under lights as soon as anything emerges. Once you get seedlings going, the same general approach helps you figure out how to grow angel wing begonias from seed and care for them as they mature. Everything else, from transplanting to bloom care, follows from that solid start.
FAQ
Do angelonia seeds need to be covered at all, even lightly?
No. Even a thin dusting of soil can reduce germination because the seeds require light to start. Press the seed gently onto the surface so it has good contact, but keep it exposed.
What if I do not have a heat mat, will angelonia still germinate?
Yes, but germination will likely be slower and less reliable if your home stays cool. A practical alternative is to place the tray in the warmest spot you have (often on top of a refrigerator or near a heat register) while still monitoring soil temperature with a probe thermometer.
How do I know whether poor germination is from temperature versus watering or light?
If seedlings never appear and the surface looks dry, it is likely moisture or temperature. If the surface stayed damp but nothing germinated, check that light reached the seeds (no covering) and that soil stayed near 70 to 75°F. Overly wet conditions can also cause seed rot, especially with a dome that never vents.
Should I remove the plastic dome as soon as a few seeds sprout, or wait until most emerge?
Start venting the dome as soon as you see any sprouting to prevent condensation. Then remove it fully once you have consistent emergence, because staying too humid and too dim encourages weak, leggy growth.
Can I start angelonia in peat pots or directly in the garden?
Direct sowing is usually difficult because angelonia is frost sensitive and needs warm, steady conditions. Peat or fiber pots can work, but many transplant shock issues come from root disruption, so it is safer to transplant with minimal disturbance from a plug tray.
My seedlings are stretching, even though I used grow lights, what should I adjust?
Lower light intensity or too much distance from the lamp is the usual cause. Keep seedlings 3 to 4 inches from the lights and ensure the lights run long enough (about 16 hours on). Also avoid overwatering, since constantly wet mix can lead to weaker stems.
When I transplant, how can I reduce failure caused by sun and wind shock?
Transplant only after hardening is complete, then water at planting and keep the first week evenly moist. If the forecast calls for very hot midday sun or strong wind, delay transplanting or provide temporary shade for 1 day to help them settle.
What spacing should I use if I want more flowers sooner?
Use the recommended 12 to 18 inches, but if you are after quicker fullness in containers, you can place them at the low end and shear/pinch on schedule. In crowded spacing, airflow drops and plants can be slower to produce because they compete for light.
How do I tell if a yellowing issue is pH related versus nutrient deficiency?
If yellowing shows up mid-season alongside slower flowering, pH drifting is a common cause. A quick check is to test soil pH where you planted and compare it to 5.5 to 6.0. If pH is in range but color still declines, then consider a balanced feed rather than adding extra nitrogen.
Can I overfertilize angelonia, and what does it look like?
Yes. Heavy nitrogen often leads to lots of leaves but fewer blooms and softer growth. If you notice vigorous foliage with reduced flower spikes, stop high-nitrogen products and switch to a balanced fertilizer at the normal interval.
Do I need to deadhead angelonia if the variety is self-cleaning?
Usually not, but it depends on whether your specific plants form seed heads that do not fall away. If you see spent flowers staying on the spikes and flowering slows, deadhead or shear by about one-third to trigger new growth.
How often should I water once plants are established in-ground?
Water based on soil dryness, not a fixed schedule. A helpful rule is to water when the top couple of inches dry out. In many climates that ends up around once a week, but heat waves can require more frequent watering for the first couple of weeks after establishment.
Is it safe to grow angelonia in containers outdoors year-round?
Only in mild climates without frost. Angelonia is frost sensitive, so containers should be brought indoors or replaced after cold weather. In-ground plants behave similarly, so do not assume it will overwinter.
What is the quickest way to diagnose “not blooming” after transplanting?
Check the three most common bottlenecks: not enough sun, overwatering, or seeds being started incorrectly leading to weak plants. Then verify drainage, ensure at least 6 hours of direct sun, and confirm you are not keeping the root zone constantly wet.
Next Article
How to Grow Buddleia Butterfly Bush From Seed to Bloom
Step-by-step guide to grow Buddleia from seed to bloom, with pruning, watering, troubleshooting, and winter care.