Growing chrysanthemums in a greenhouse gives you control that outdoor growing simply cannot match: you set the temperature, you manage the light, and you decide exactly when your plants bloom. Start cuttings or young transplants in spring, keep daytime temperatures between 60 and 70°F, give plants 16 hours of light during vegetative growth, then switch to short days (10 to 12 hours of light with an uninterrupted dark period) to trigger flowering. Pinch plants once or twice in early growth to encourage branching, feed heavily during vegetative growth and lightly once buds appear, and you will have reliable, high-quality blooms on a schedule you control.
How to Grow Chrysanthemums in a Greenhouse Step by Step

Harriet Whitmore
21 Jun 2026

Greenhouse setup essentials for chrysanthemums
Before you put a single plant inside, get your greenhouse dialed in for mums specifically. Chrysanthemums are not particularly fussy compared to orchids or tropicals, but they do have firm preferences around temperature, airflow, and light management that will make or break your crop.
Temperature targets
Aim for daytime temperatures of 60 to 70°F and nighttime temperatures of 55 to 60°F. High temperatures, especially during flower initiation, are one of the most common causes of delayed or failed blooms in early-season cultivars. Research from Michigan State University Extension confirms that high day and night temperatures can significantly delay flowering, with the effect varying by cultivar and photoperiod. If your greenhouse runs hot in summer (above 85°F consistently), your early-season mums will struggle. Shade cloth rated at 30 to 40 percent can knock temperatures down meaningfully during summer afternoons.
Ventilation and humidity
Good airflow is non-negotiable. Chrysanthemums are highly prone to botrytis (gray mold) and powdery mildew when air is stagnant and humidity stays high. Install at least one oscillating fan for every 200 square feet of bench space, and use roof vents or ridge vents to vent hot, moist air upward. Target relative humidity between 50 and 70 percent. Anything above 80 percent for extended periods, especially overnight, invites disease. Running a small dehumidifier during wet seasons has saved many a crop.
Light infrastructure
You need two things: supplemental lighting for extending day length during vegetative growth, and a reliable blackout system for inducing flowering. For supplemental light, LED grow lights or high-pressure sodium (HPS) fixtures work well. For blackout, install a heavy blackout curtain or movable blackout fabric that you can close each evening to create the long, uninterrupted dark period mums need to flower. The blackout system does not need to be commercial-grade; many hobby growers use heavy landscape fabric on a simple PVC track system and it works fine.
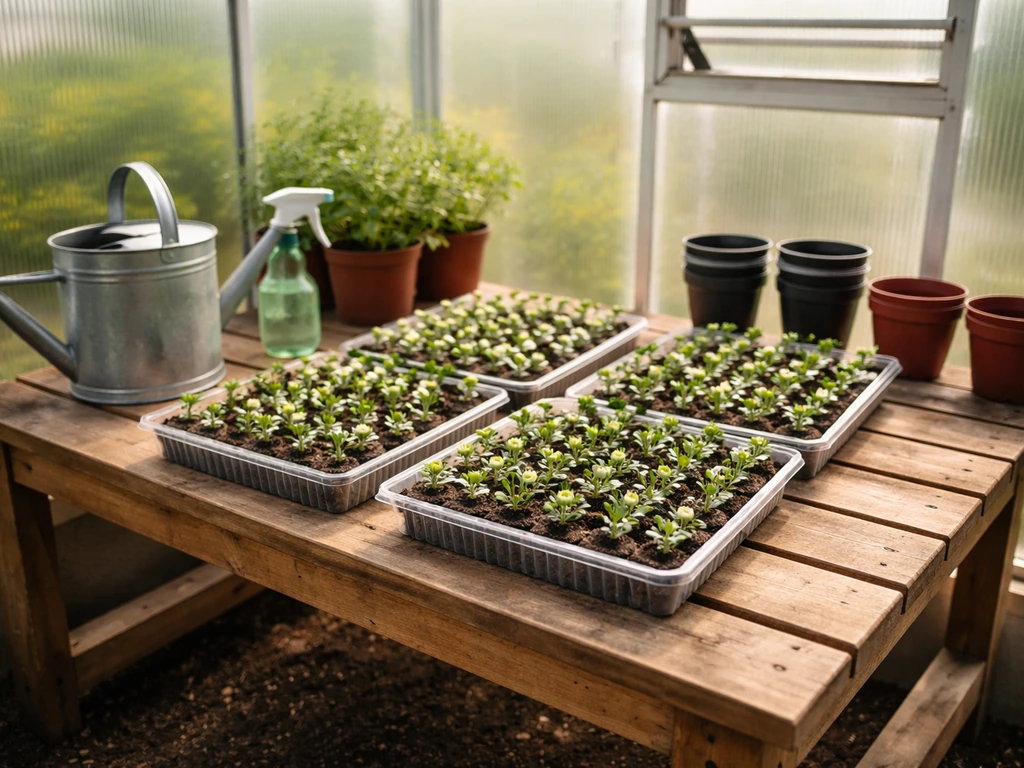
Starting plants: seed vs cuttings vs transplants
How you start your crop affects your timeline, variety selection, and ultimately how uniform your blooms will be. Each method has its place depending on your goals and budget.
| Method | Best For | Time to Bloom | Pros | Cons |
|---|---|---|---|---|
| Seed | Experimenting with new varieties, budget starting | 16–20 weeks from sow | Low cost, wide variety access | Slow, variable results, not true-to-type for named cultivars |
| Stem cuttings | Replicating proven varieties, production crops | 12–16 weeks from rooted cutting | Uniform, true-to-type, faster than seed | Need a mother plant or supplier |
| Transplants/plugs | Quickest route to blooms, beginners | 10–14 weeks from transplant | Easiest, predictable, saves weeks | Higher cost per plant, limited variety selection |
Starting from seed
Sow seeds in a fine seed-starting mix, barely covering them since they need light to germinate. Germination takes 10 to 18 days at 65 to 70°F. Seedlings are slow to establish, so this method works best if you are experimenting or growing species types rather than named garden cultivars. Most named hybrid mums do not come true from seed, so if you want a specific color or form, cuttings or transplants are the better path.
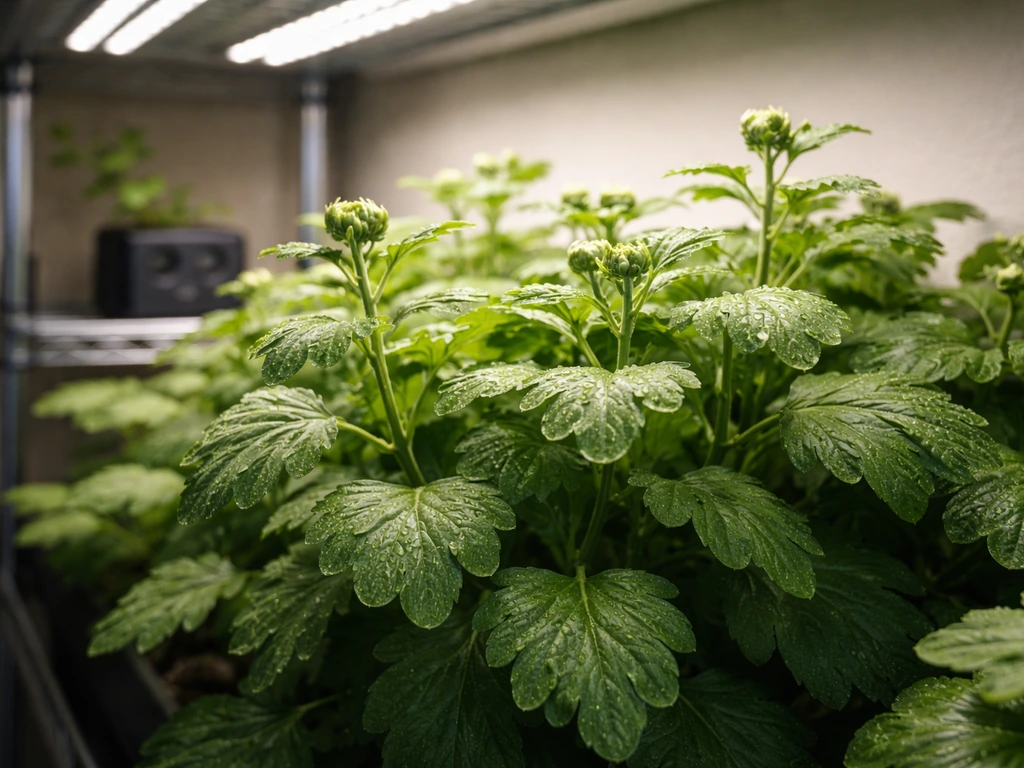
Starting from cuttings
This is how most serious greenhouse growers start their crops, and it is my preferred method. Take 3 to 4 inch tip cuttings from healthy stock plants, strip the lower leaves, dip the cut end in rooting hormone powder or gel, and insert into a tray of perlite or a 50/50 perlite and peat mix. Keep cuttings at 68 to 72°F, mist lightly twice a day, and they will root in 2 to 3 weeks. Once roots are 1 inch long, pot up into your growing mix. If you want to explore propagating from stems in more detail, that process is closely related to what is covered in guides focused on growing mums from stems.
Starting from transplants or plugs
Buying rooted plugs from a supplier is the fastest and most reliable route, especially if you are new to greenhouse mums. Once you have rooted plugs, follow the same steps for potting up promptly and keeping conditions on target so they reach uniform fall blooms grow mums from plugs. Plugs arrive rooted and ready for potting, cutting several weeks off your timeline. This is a great option in late spring or early summer when you want reliable fall blooms without the propagation learning curve. Many of the same principles for growing mums from plugs apply here, particularly the need to pot up promptly and not let roots circle the plug cell.
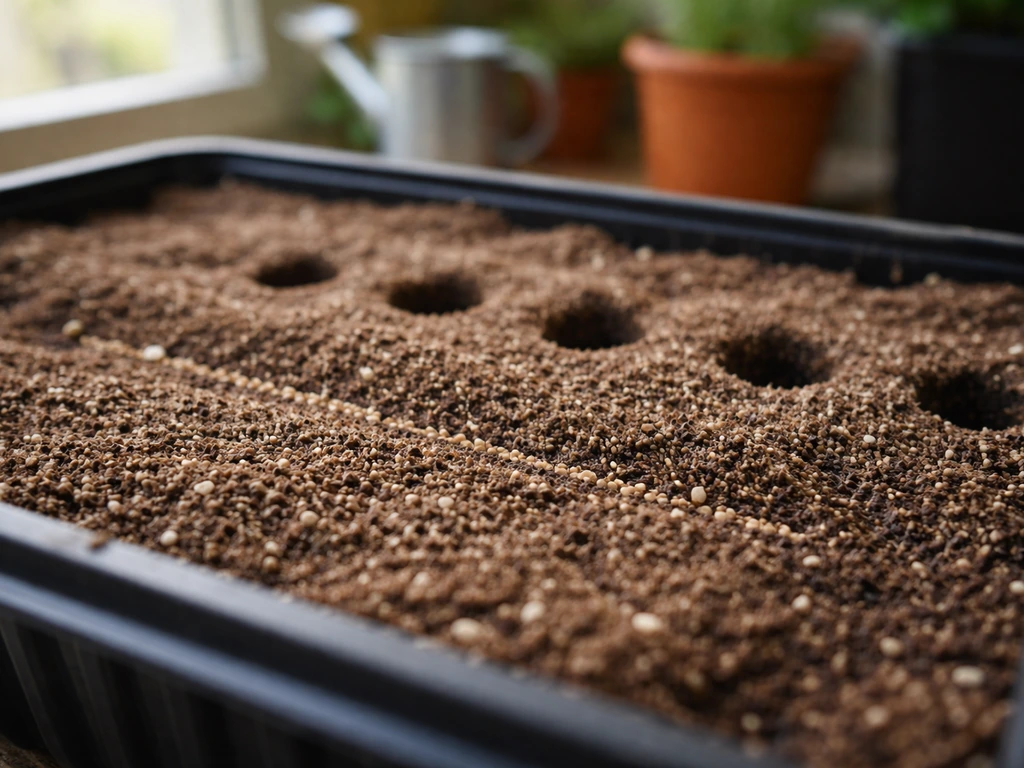
Potting mix, containers, spacing, and watering schedule
The right potting mix
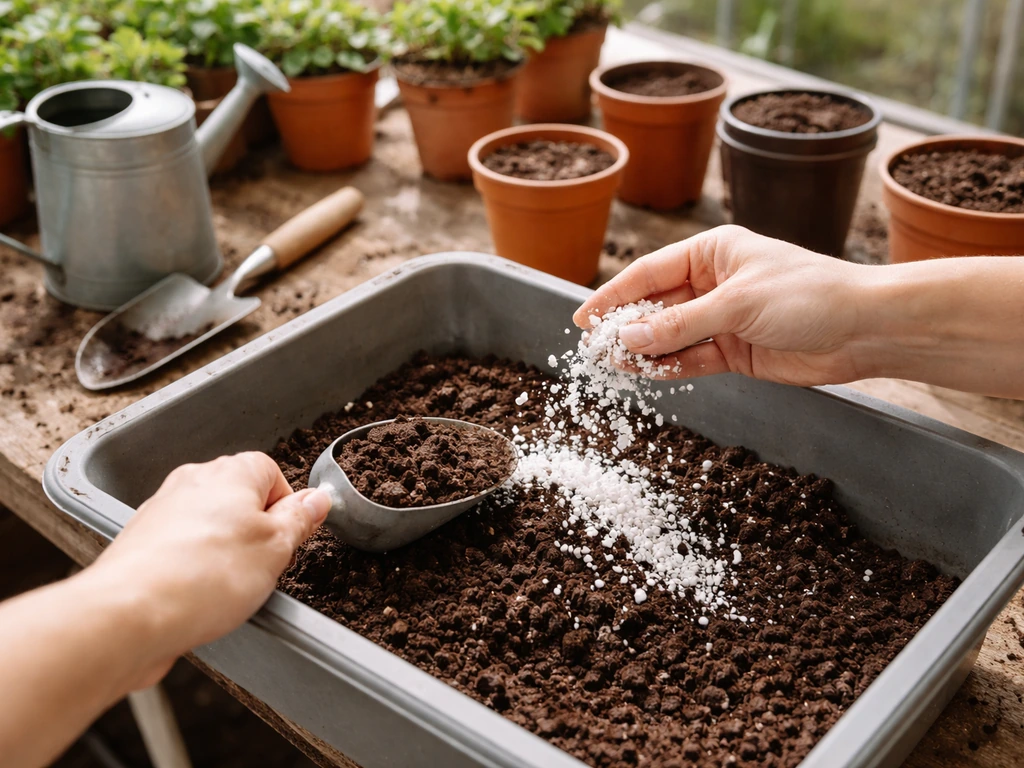
Chrysanthemums want a well-draining, slightly acidic mix with a pH of 5.8 to 6.5. A good greenhouse mix is two parts quality peat-based potting compost, one part perlite, and one part coarse bark or aged pine fines. This gives you drainage, aeration, and enough organic matter to hold nutrients and moisture without staying waterlogged. Avoid heavy garden soil in containers entirely. It compacts, drains poorly, and is full of pathogens.
Container size and spacing
For standard pot mums, a 6 to 8 inch pot works for a single plant pinched to produce a mounded display. For larger, multi-stemmed plants or cut-flower production on benches, move up to 10 to 12 inch pots or use bench production in deep trays. Spacing matters enormously in a greenhouse because crowded mums are disease-prone mums. Give pot-grown plants at least 12 inches of space between pot rims. On production benches, space plants 8 to 12 inches apart in each direction. I have made the mistake of crowding plants to fit more in, and the result was always powdery mildew and stretched, leggy stems.
Watering schedule
Water thoroughly when the top inch of media is dry, then let it approach dryness again before the next watering. Mums do not like sitting in constantly wet media, but they also do not tolerate wilting repeatedly. In summer, a greenhouse pot can dry out in 24 to 36 hours. In cooler months, every 2 to 3 days is more typical. Water in the morning so foliage dries before evening, which significantly reduces disease pressure. Avoid wetting the foliage with overhead watering once plants are large enough that air circulation between leaves becomes limited.
Temperature and light targets, and when to plant
Light during vegetative growth
During the vegetative (non-flowering) stage, keep day length at 16 hours or longer. This keeps plants in active growth mode and prevents premature bud initiation. In a greenhouse from late spring through summer, natural day length may be sufficient, but in early spring or fall, run supplemental grow lights to extend the photoperiod to 16 hours. A simple timer makes this effortless.
Light and temperature during bloom induction
Chrysanthemums are short-day plants, which in practice means they need long, uninterrupted nights to flower. Most cultivars initiate buds when they receive 11 to 12 consecutive hours of darkness per day, though some earlier cultivars respond to as little as 10 hours. Greenhouse Product News summarizes that chrysanthemums require long nights, about 11, 12 hours or longer depending on cultivar, for rapid flower initiation and development and discusses greenhouse research on constant temperatures (57, 73°F) using visible inflorescence stage bud development blank" rel="noopener noreferrer">11 to 12 consecutive hours of darkness per day. The key word is uninterrupted: even a brief flash of light in the middle of the dark period can reset the clock and delay or prevent flowering. This is why a solid blackout system matters. Research backs up that blank" rel="noopener noreferrer">providing roughly a 10-hour day and 14-hour night can help overcome heat-related bloom delay in early-season types.
Seasonal planting timeline
The timeline below is a practical greenhouse starting guide. Adjust 2 to 4 weeks earlier or later depending on your climate zone and the specific cultivar's weeks-to-flower rating (always listed on commercial tags or supplier sheets).
| Desired Bloom Window | Start Cuttings/Transplant | Begin Short-Day Treatment | Notes |
|---|---|---|---|
| Early fall (September) | Late April to May | Early to mid-July | Watch for heat delay in July; shade cloth helps |
| Mid-fall (October) | May to June | Late July to early August | Good window for most hobby growers |
| Late fall (November) | June to early July | Mid to late August | Suits later cultivars; lower disease pressure |
| Winter/holiday (December) | July | September | Supplemental heat needed in most climates |
Training for blooms: pinching, short-day management, and timing
Why and how to pinch

Pinching is the single most important training step you can do for bushy, multi-budded mums. When a young plant has 6 to 8 inches of new growth and at least 5 sets of leaves, pinch out the growing tip by removing roughly the top inch of the stem between your fingers. This forces the plant to branch from lateral buds lower on the stem. A single pinch produces 3 to 6 flowering stems. A second pinch 3 to 4 weeks later, where you remove the tip of each lateral branch, doubles the branching again and gives you a much fuller plant. Stop pinching at least 8 to 10 weeks before your target bloom date, because the plant needs that vegetative growing time after the last pinch before it is ready to respond to short days.
Managing the short-day (blackout) period
Once plants are fully vegetative and have been pinched, you initiate the short-day treatment to trigger flowering. Close your blackout curtain each evening to give plants the required long dark period. An important practical tip from MSU Extension research: do not close your blackout fabric until late evening (around 8:30 p.m.) rather than at sunset, because keeping it open longer prevents heat buildup inside the fabric. Open it again in the morning around 8:30 a.m. This schedule delivers roughly a 12-hour dark period without turning your greenhouse into an oven overnight, which matters especially in summer and early fall when temperatures are still high. Most cultivars will show visible bud development within 3 to 5 weeks of consistent short-day treatment.
Variety selection for timing goals
Mum cultivars are categorized by their response group, typically listed as weeks-to-flower after short-day treatment begins. Common groups range from 6-week to 15-week response types. For most hobby greenhouse growers, 8- to 10-week cultivars are the most manageable. Early-season types (shorter response) are more sensitive to heat delay, so if you are starting short days in July or early August, lean toward mid-season or later cultivars rated at 10 to 12 weeks. For pot display mums, compact cushion or decorative types work well. For cut flowers or bench production, standard and spider types with taller, stronger stems are a better fit.
Fertilizing and growth management from vegetative to flowering
Vegetative stage feeding
During vegetative growth, feed every 7 to 10 days with a balanced, water-soluble fertilizer at a rate of around 200 to 250 ppm nitrogen. A 20-10-20 or similar formulation works well at this stage. Strong vegetative growth is the foundation for a good flowering response, so do not hold back on nutrients during this phase. If your plants look pale or are growing slowly, check your pH first (outside the 5.8 to 6.5 range, nutrients become unavailable even if they are present), then consider stepping up your feeding rate.
Transition to flowering
Once you begin short-day treatment and buds become visible (typically 3 to 5 weeks in), shift to a low-nitrogen, high-potassium feed such as a 15-0-15 or 10-30-20 at 150 to 200 ppm. High nitrogen at the budding stage promotes leafy growth at the expense of flower quality and can cause petals to be fewer and looser. Potassium supports stem strength and flower color. Continue feeding through bloom development, but reduce frequency to every 10 to 14 days as flowers open fully.
Growth regulator options
If plants are stretching too tall or getting leggy, a foliar spray of a plant growth regulator (PGR) such as B-Nine (daminozide) can compact growth without affecting flowering. Apply during vegetative growth, not after bud initiation. Many hobby growers skip PGRs entirely and rely on proper pinching and spacing instead, which is a perfectly valid approach if you are growing for personal enjoyment rather than commercial presentation standards.
Common greenhouse problems and how to fix them
Pests
- Aphids: Look for clusters of soft-bodied insects on new growth and flower buds. A strong jet of water knocks them off, and insecticidal soap or neem oil applied every 5 to 7 days controls infestations. Introduce beneficial insects like parasitic wasps if the problem is persistent.
- Spider mites: Common when conditions are hot and dry. Leaves look stippled or bronzed on the undersides. Increase humidity slightly, improve airflow, and spray with miticide or neem oil. Spider mites develop resistance quickly, so rotate products.
- Thrips: Tiny, fast-moving insects that cause silvery streaking on petals and leaves. Use sticky blue traps to monitor populations and apply spinosad-based sprays as needed.
- Fungus gnats: Larvae damage roots in wet media. Let the top inch of the growing mix dry out between waterings and use yellow sticky traps to catch adults. Beneficial nematodes applied to the media can address larvae.
Diseases
- Botrytis (gray mold): Fuzzy gray growth on stems, leaves, or petals, usually in cool, humid, poorly ventilated conditions. Remove affected tissue immediately, improve airflow, reduce humidity, and water in the morning only. A preventative copper-based fungicide spray every 10 to 14 days helps in high-risk periods.
- Powdery mildew: White powdery coating on leaf surfaces, common in late summer and fall when nights cool down. Improve spacing, avoid overhead watering, and treat with potassium bicarbonate spray or a registered fungicide.
- Leaf spot (Septoria or Cercospora): Dark spots with yellow halos on lower leaves. Remove affected leaves, avoid wetting foliage, and apply a copper-based fungicide. The infection spreads through water splash.
- Root rot (Pythium or Phytophthora): Plants wilt despite wet media, and roots are brown and mushy. There is usually no saving severely affected plants. Prevent by using well-draining media, proper watering discipline, and clean containers.
Cultural problems: leggy growth, bud failure, no blooms
- Leggy, stretched stems: Usually caused by insufficient light during vegetative growth or plants crowded too close together. Move plants to a brighter spot or add supplemental light, and increase spacing.
- Buds forming too early (before pinching is complete): Your plants are receiving short days unintentionally. Check for light leaks in your greenhouse, especially at night. Even streetlights coming through glazing can interrupt the dark period.
- No blooms or very late blooms: First suspect light leaks disrupting the dark period. Second, check temperatures; heat above 85°F during early flower initiation causes significant delay in early-season cultivars. Third, confirm you chose the right response-group cultivar for your timing window.
- Bud abort (buds form but drop or fail to open): Usually caused by sudden temperature swings, overwatering once buds appear, or low light at the bud development stage. Maintain stable temperatures and consistent moisture once buds are set.
Harvesting, display care, and planning your next crop
When and how to harvest cut flowers
For cut flowers, harvest stems when the outer one to two rows of petals on the central flower are fully open and the remaining buds are showing color. Cut in the early morning when stems are fully hydrated, and immediately place them in a bucket of clean, cool water with a commercial flower preservative. Strip any leaves that would sit below the waterline. At 34 to 38°F in a cooler, cut chrysanthemums hold for 2 to 4 weeks, making them excellent for staging or event planning.
Pot mum display care
Pot-grown mums are at their best when brought indoors or displayed just as the first few flowers open. Keep them in bright, indirect light indoors and water regularly. They will bloom for 3 to 6 weeks under good conditions. Avoid placing them near heating vents or in very warm rooms, as heat shortens display life significantly. After blooming, you can move greenhouse-grown potted mums outside if your climate is mild enough, but that is a separate conversation covered more thoroughly in guides focused on growing mums in the ground. If you want to grow mums in the ground instead, focus on choosing the right planting site and soil drainage before you begin your schedule how to grow mums in the ground.
Planning the next crop
Before the current crop finishes, take cuttings from the healthiest, most vigorous plants to carry your best genetics into the next cycle. Label your stock plants by cultivar, bloom date, and response group so you are not guessing next season. Once the main crop comes out, sanitize benches and containers with a 10 percent bleach solution or a commercial greenhouse disinfectant before replanting. Rotate to a fresh batch of potting mix rather than reusing old media, which can harbor pathogens and pests from the previous crop.
What to do today based on where you are in the process
Since today is June 21, 2026, you are in a solid window for mid-to-late fall blooms. If you have cuttings or transplants ready now, pot them up immediately, get them under 16-hour days, and begin pinching as soon as they have 5 to 6 sets of leaves. You have time for two pinches before initiating short days in late July or early August for October to November blooms. If you are starting from scratch with seeds today, the timeline is tighter: sow immediately, give seedlings ideal conditions, and target a single late pinch for November blooms. If you already have vegetative plants that have been pinched and are looking bushy, start checking your blackout system for light leaks now so it is ready to deploy in 4 to 6 weeks. Whatever stage you are at, the next step is always the same: assess where your plants are today, count backward from your bloom target, and make sure your greenhouse conditions match what the plants need right now, not what they will need at bloom time.
FAQ
How can I tell if my greenhouse blackout is actually working (and not leaking light)?
Use a dedicated light schedule plus a light-leak check. Even a brief “streetlight” exposure during the dark period can delay flowering, so test the blackout system by turning off all internal lights and walking through with your phone flashlight, looking for any gaps, seams, or door light spill. If you see any light at plant height, cover it before you commit to short-day timing.
When exactly should I change from a balanced fertilizer to a low-nitrogen, high-potassium fertilizer?
Switch plants to the higher-potassium, lower-nitrogen feed only after you see bud development that confirms short days took effect. Feeding high nitrogen during budding commonly causes more foliage, fewer petals, and softer stem strength. If you are unsure, wait until buds are visible (about 3 to 5 weeks) rather than changing nutrients based on date alone.
What should I do first if I’m getting powdery mildew or gray mold in the greenhouse?
If you see powdery mildew while plants are still stretching, first fix spacing and airflow before you add treatments. Chrysanthemums recover faster when leaves dry quickly, so water in the morning, avoid overhead wetting after canopy closure, and confirm you have enough fan coverage for your bench area. A greenhouse can look “humid” even when RH seems fine, but stagnant airflow is often the real trigger.
My mums aren’t thriving, but my fertilizer mix is correct. How do I troubleshoot pH and nutrient uptake in containers?
Yes, but keep the pH in your goal range. If your fertilizer is correct yet plants look pale or growth stalls, test the mix pH and also check for salt buildup if you reuse trays or allow recurring wetting-drying cycles. Small deviations around 5.8 to 6.5 can make nutrients less available even though the feed concentration is right.
How does pot size affect bloom uniformity and plant quality in greenhouse production?
Don’t rely on a single pot size if you are growing different product types. Standard pot displays benefit from the smaller 6 to 8 inch container, while cut-flower or multi-stem types need more root space (often 10 to 12 inch or deep trays). If you underpot, you may get early wilting, weaker stems, and uneven flowering timing across the bench.
What happens if I pinch later than recommended, and how do I decide the last pinch date?
Stop pinching early enough that plants have time to complete vegetative growth, then focus on consistent short-day treatment. If you pinch too late, you may not have enough time for buds to develop after the final pinch, which can push blooms past your target window. Use the “last pinch” rule of thumb from your cultivar’s weeks-to-flower, then count backward.
My greenhouse gets hot in summer. How do I prevent delayed blooms when starting short days?
Treat summer heat as a bloom-timing variable, not just a comfort issue. High temperatures, especially during flower initiation, can delay flowering, and shade cloth reduces stress but also changes light levels. Watch both day and night temps, and consider starting short days when evening temperatures are lowest if your greenhouse has hot nights.
How do I get the longest vase life from greenhouse-grown chrysanthemum cut flowers?
For greenhouse-grown cut chrysanthemums, condition matters as much as harvest timing. Re-cut stems at an angle after they have been in water (even briefly), keep them in clean cool water with preservative immediately, and remove leaves that fall below the waterline to prevent bacterial buildup. Storage holds best in the cooler temperature range you can maintain consistently.
What’s the biggest mistake when potting up rooted plugs or cuttings, and how do I avoid it?
After transplanting or potting up, avoid letting roots sit in constantly wet media, especially during the first week when new roots are establishing. Water thoroughly only when the top inch dries, then let it approach dryness again. Also, ensure your container mix is well aerated (peat plus perlite and coarse bark) so roots get oxygen while you maintain steady moisture.
Next Article
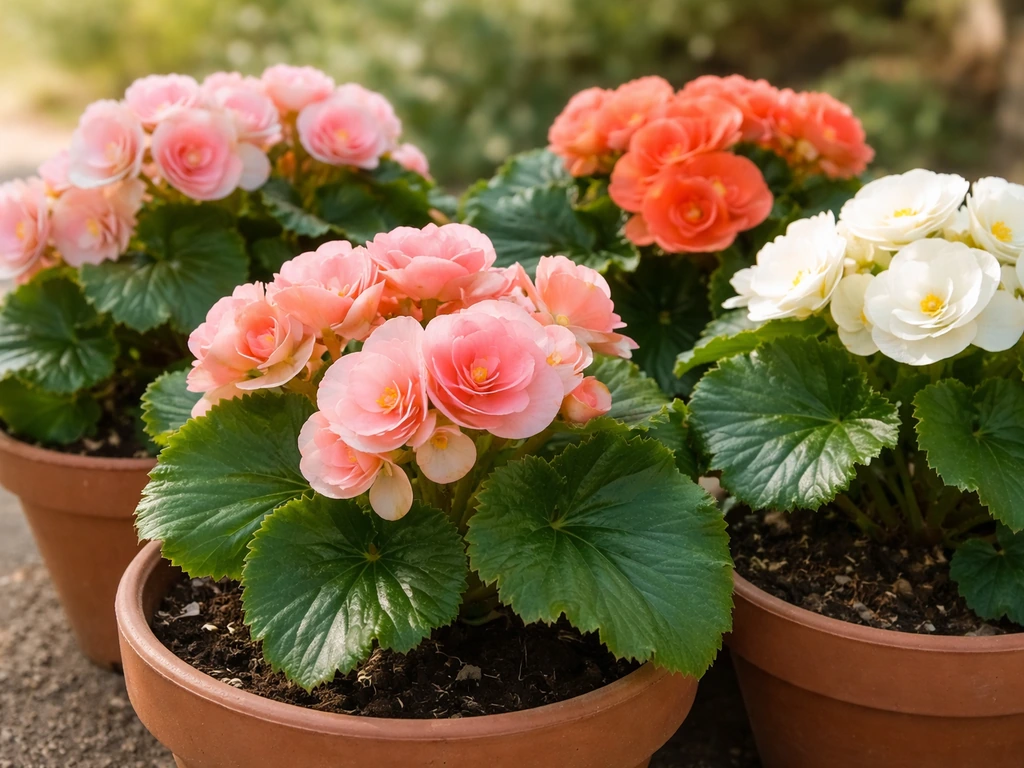
Begonias How to Grow From Seed to Bloom
Step-by-step begonias how to grow guide from seed to bloom: light, soil, watering, feeding, timing, and troubleshooting.