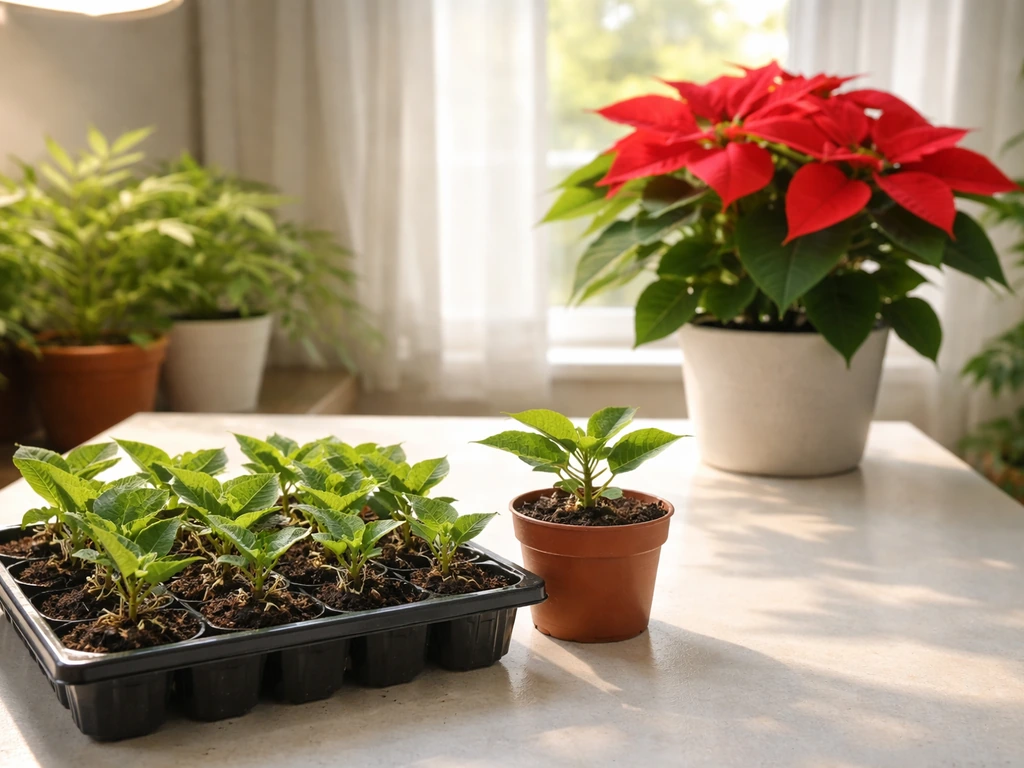
Yes, you can grow poinsettias in the ground, but only if you live somewhere that stays reliably frost-free. Euphorbia pulcherrima is winter-hardy in USDA Zones 9a through 11b, which includes coastal Southern California, much of Florida, Hawaii, the Gulf Coast, and similar warm climates. Outside those zones, even a single hard freeze will kill an in-ground plant to the roots or finish it off entirely. If you're in the right zone, though, planting one in the ground is genuinely rewarding: these shrubs can reach 6 to 12 feet tall, put on a spectacular natural bloom each winter, and need far less fussing than a pot on the windowsill. For step-by-step guidance on how do you grow a poinsettia, see this detailed guide (090a8fcc-369e-470e-9ed0-684e2f6a226c).
How to Grow Poinsettias in the Ground for Home Gardeners

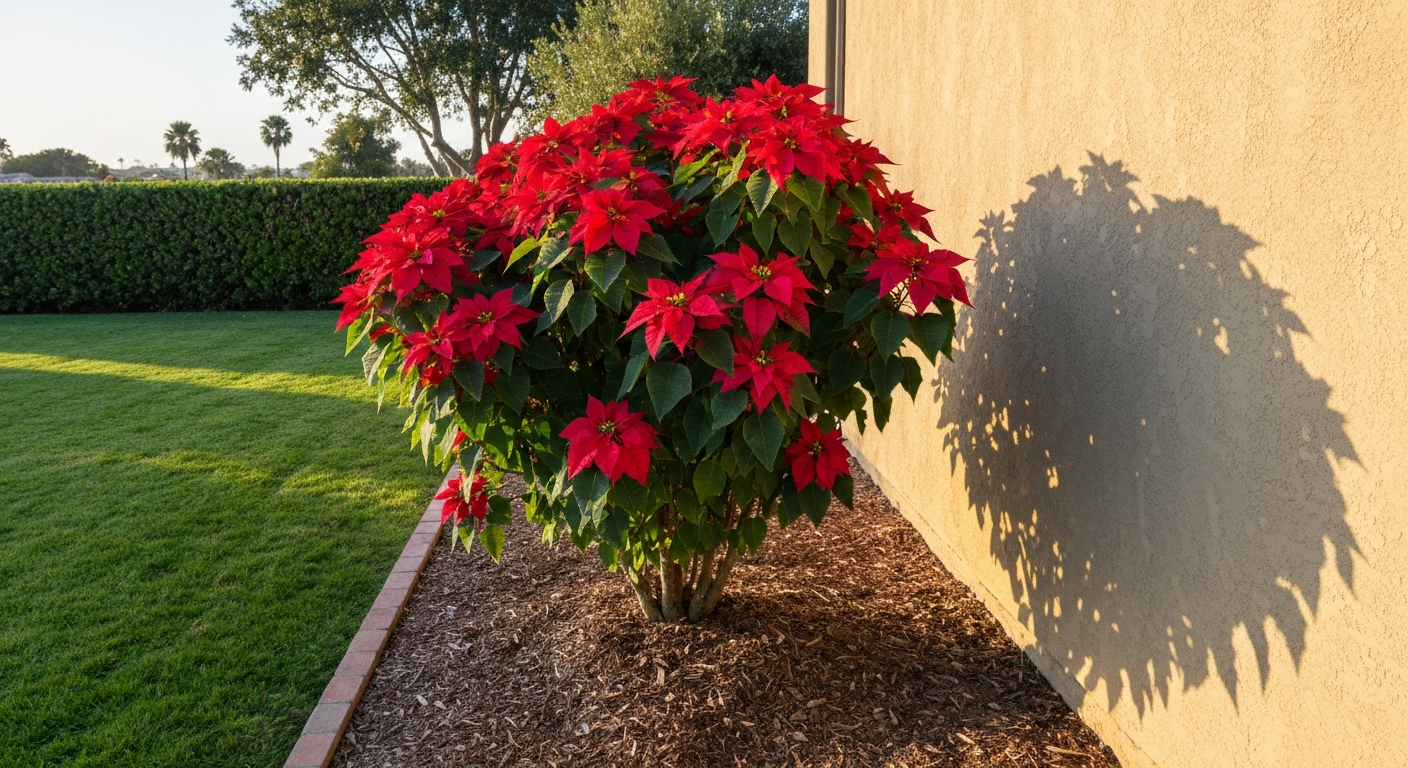
Climate suitability and hardiness: where in-ground poinsettias actually work
Poinsettias need warmth year-round. The plant's ideal daytime temperature range is 75 to 80°F, with nights around 65°F. Once night temperatures drop consistently below 50 to 55°F (10 to 13°C), you'll see stress symptoms: leaf and bract drop, sluggish growth, and general sulking. Below freezing, stems die back. If your winters are anything colder than USDA Zone 9a, the in-ground approach is a gamble that rarely pays off. Zones 10 and 11 are the sweet spot: south Florida, tropical Hawaii, coastal parts of Southern California where marine air keeps temps mild, and equivalent climates abroad. Gardeners in tropical regions can consult a specific guide on how to grow poinsettia in the Philippines for site selection, timing, and cultivar advice tailored to humid, equatorial conditions. For Florida gardeners, see how to grow poinsettias in Florida for localized tips on varieties, timing, and frost protection.
Even within Zone 9, frost risk is real. A Zone 9a winter can dip briefly to 20 to 25°F, which will damage exposed poinsettias. If you're in the cooler end of Zone 9, choose a sheltered microclimate (more on that below) and be ready to cover plants on frost nights. Zone 9b and warmer is where I'd feel confident planting without a backup plan. Gardeners in borderline zones who want the look of an outdoor poinsettia might prefer keeping a large container that can be wheeled under cover when a cold snap hits. The in-ground route is best suited to warm-climate gardeners who can leave plants undisturbed for years.
Choosing the site and microclimate
Sun is non-negotiable. Poinsettias need at least six hours of direct sunlight daily to grow well and color up properly in autumn. I've tried lower-light spots and the plants stay alive but look leggy and barely produce bracts. A south- or west-facing bed backed by a wall or fence is ideal: the wall reflects warmth and provides a few degrees of frost buffer on cold nights.
Wind is the other big concern. Poinsettia stems are surprisingly brittle and large shrubs can snap in strong gusts. A windbreak of hedging, a fence, or the side of a building on the prevailing-wind side will protect the plant and also trap warmth. Avoid open, exposed corners of the yard if you can. Low-lying spots are equally problematic: cold air drains to frost pockets overnight, so a slight slope or raised position beats a dip in the lawn.
Soil requirements and preparing the bed
The single most important soil quality for poinsettias is drainage. Waterlogged roots are an open invitation for Phytophthora and Pythium root rots, and once those set in the plant declines fast. Never plant poinsettias in a low spot that collects standing water. For pH, aim for 5.5 to 6.5 (slightly acidic), which keeps nutrients available and discourages root pathogens. A basic home soil test will confirm where you stand.
To prepare the bed, dig out an area at least twice the width of the root ball and about 18 inches deep. Work in a generous amount of aged compost or fine bark to improve structure and drainage. If your native soil is heavy clay, mixing in coarse perlite or horticultural grit makes a real difference. Sandy soils drain well but need compost to hold some moisture and nutrients. After amending, rake the bed level and let it settle for a day or two before planting.
If drainage is genuinely poor even after amending, a raised bed raised 8 to 12 inches above grade is a practical fix. I've seen beautiful hedge-style plantings in Florida where a simple raised mound of amended soil gave the roots the air they needed. It looks natural once established and can add visual interest to a flat yard.
When to plant: a seasonal timeline by region
The core rule is: plant after all frost risk has passed and night temperatures are reliably above 55°F. In most warm climates, spring planting gives the plant a full growing season to establish before it naturally blooms in winter. Here's how the timing breaks down by region:
| Region | Best planting window | Notes |
|---|---|---|
| Southern Florida (Zone 10–11) | March to May | Avoid summer planting if possible; intense heat and heavy rains stress new transplants |
| Gulf Coast / Zone 9b Texas, Louisiana | Late March to April | Watch for late cool snaps in March; established plants handle summer heat well |
| Southern California coast (Zone 10) | April to June | Marine layer keeps temps mild; avoid inland heat peaks in July–August for new transplants |
| Hawaii and tropical islands | Year-round possible; prefer March–May or September–October | Avoid planting during the driest or wettest extremes if possible |
| Southern Hemisphere (e.g., eastern Australia, subtropical zones) | September to November (spring) | Timing mirrors Northern Hemisphere spring; avoid planting in winter months |
| Philippines and similar tropics | Year-round, but prefer start of dry season (November–January) | Monsoon planting can cause root rot in new transplants; ensure very well-drained beds |
One thing I always tell fellow gardeners in borderline zones: resist the urge to plant in autumn just because poinsettias are everywhere in stores from October onward. A newly planted poinsettia heading into winter cold is at far greater risk than one that had a full spring and summer to root in. For warm-climate gardeners in Australia and similar Southern Hemisphere regions, spring planting in September through November mirrors the Northern Hemisphere timing and gives identical establishment benefits. For specific timing and regional tips, see our guide on how to grow poinsettia in Australia.
Step-by-step planting instructions
- Dig the planting hole: make it roughly twice the width of the root ball and the same depth as the container the plant came in. You want the root ball to sit at exactly the same depth it was growing previously, with the soil surface of the root ball flush with or very slightly above the surrounding ground.
- Loosen any circling roots gently with your fingers before placing the plant in the hole. If the root ball is densely pot-bound, score the sides lightly with a knife to encourage outward growth.
- Backfill with your prepared amended soil, firming it gently in layers to eliminate large air pockets. Do not bury the stem above the original soil line.
- Water thoroughly immediately after planting to settle the soil and drive out remaining air pockets. The root zone should be uniformly moist but not sitting in water.
- Apply a 2- to 3-inch layer of organic mulch (shredded bark, wood chips, or straw) around the plant, keeping it 2 to 3 inches away from the main stem to prevent rot. Mulch conserves moisture, moderates soil temperature, and suppresses weeds.
- Space multiple plants 3 to 5 feet apart for a hedge or mass planting; landscape poinsettias can eventually spread 4 to 6 feet wide, so crowding them early leads to competition and poor air circulation.
Keep the plant consistently watered for the first four to six weeks while roots establish. After that, established poinsettias are more drought-tolerant, though they still appreciate regular moisture during dry spells.
Planting from liners or plugs
Liners and plugs are young rooted cuttings, typically in small cell trays or 2- to 4-inch pots. They're more economical for planting a large bed or hedge and grow quickly once established, but they need a little extra care in the early weeks. If you're sourcing plugs specifically, the guidance on timing and handling them correctly is worth a close look. For a detailed step-by-step walkthrough on how to grow poinsettias from plugs, see our guide on how to grow poinsettias from plugs.
Plant plugs after night temperatures are reliably above 60°F. The smaller root system means they're more vulnerable to both cold and heat stress than a larger transplant. Dig individual holes just deep enough to accept the plug without bending roots, and firm the soil snugly around each one. Water immediately and keep the soil evenly moist (not wet) for the first two to three weeks. Avoid letting plugs dry out completely during this period: small root systems run out of water fast.
A light liquid feed of a balanced soluble fertilizer at half strength, applied two to three weeks after planting, helps plugs transition from their nursery medium to your garden soil. Hold off on full-rate fertilizing until you see active new growth, which tells you the roots have started exploring the surrounding soil. Direct afternoon sun can scorch young plugs; a shade cloth at 30% for the first week or two softens the transition, especially in very hot climates.
Transplanting an established potted poinsettia into the ground
Holiday poinsettias in 6- to 10-inch nursery pots are the most common starting point for gardeners who decide, after Christmas, to give outdoor planting a try. For detailed guidance on transitioning a holiday pot into a vigorous outdoor shrub, see our guide on how to grow poinsettia after Christmas. The timing and technique both matter. Wait until spring: night temperatures need to be consistently above 55°F and frost risk must be past. Planting a stressed post-holiday poinsettia in cold soil almost always ends badly.
Before moving the plant outdoors, harden it off over one to two weeks: set it outside in a shaded, sheltered spot for a few hours each day, gradually increasing sun and outdoor exposure. This acclimatizes the plant to outdoor light intensity, wind, and temperature swings and dramatically reduces transplant shock. On planting day, water the pot well an hour before you move it, so the root ball is moist and cohesive when you slide it out.
Follow the standard planting steps above: same depth as the container, amended well-drained soil, firm backfill, immediate thorough watering, and a good layer of mulch. Post-holiday poinsettias often look a bit ragged (yellowed leaves, sparse stems) before planting, but a warm spring, good soil, and regular water will trigger vigorous new growth within a few weeks. Prune stems back to 12 to 18 inches above the ground if the plant is very leggy or bare, which encourages a bushier habit from the base up.
Ongoing care: watering, feeding, and pruning
Established in-ground poinsettias are relatively low-maintenance once they've rooted in. Water deeply but infrequently: let the top inch or two of soil dry between waterings. Overwatering is one of the top causes of root rot, so if in doubt, check the soil moisture before reaching for the hose. During hot, dry summers, weekly deep watering is usually sufficient for established shrubs.
For fertilizing, a balanced granular or slow-release fertilizer applied monthly during the growing season (roughly spring through early autumn) keeps the plant healthy. UF/IFAS recommends emphasizing nitrogen and potassium while keeping phosphorus moderate, and adjusting rates based on a soil test rather than guessing. Avoid heavy fertilizing after late summer, as pushing lush new growth close to the natural short-day induction period can delay bract coloring.
Pruning is probably the most important maintenance task for in-ground poinsettias. Without regular pruning, these shrubs grow fast, get tall and sparse at the base, and produce fewer bracts. I prune mine twice a year: once in late spring (cutting each stem back by about one third) and again in late summer (around August), leaving stems at least 18 to 24 inches long so they have enough nodes to produce good branching and flower buds. Never prune after early September in the Northern Hemisphere, as that removes the developing bract-bearing growth.
How to get outdoor poinsettias to bloom (and re-bloom)
Poinsettias are short-day plants, meaning they initiate bracts and flowers in response to long, uninterrupted nights. In nature, the shortening days of autumn trigger this automatically, and in warm outdoor gardens it often just happens on its own as days shorten. The problem outdoors is light pollution: street lights, porch lights, or lit windows that shine on the plant during the night can interrupt the dark period and prevent or delay bract development. Even very low light levels (around 2 foot-candles) during the night are enough to disrupt the process.
To force reliable blooming, you need approximately 14 hours of complete darkness each night for six to ten consecutive weeks, starting in late September or early October in the Northern Hemisphere. For potted plants or small in-ground specimens you can cover, the standard approach is to place a cardboard box or opaque cover over the plant at around 5 p.m. each evening and remove it by 8 a.m. the next morning. For large in-ground shrubs, the more practical approach is to ensure they're sited away from artificial night lighting, or use black landscape fabric draped over the plant in the evening if needed.
Night temperature during the induction period matters too. Induction works best when nights stay in the 60 to 70°F range. Warmer nights slow the process and may require extending the dark period by a week or two. Most cultivars take 8 to 11 weeks from the start of short days to finish (fully colored bracts), so beginning the dark treatment by early October targets Christmas color in Northern Hemisphere gardens.
Winter protection and what to do if a freeze is coming
In Zone 9a, where brief frost events can occur, have a plan ready. Before a forecast freeze, water the soil well (moist soil holds heat better than dry soil), then cover the plant with frost cloth or an old bed sheet anchored at the base to trap ground heat. Remove the cover once temperatures climb back above freezing. In Zone 9b and warmer, most winters you won't need to do anything, but having frost cloth on hand costs very little and can save a plant you've been growing for years.
If a freeze does catch your plant uncovered and you see blackened, wilted stems, don't panic and don't immediately prune out all the damage. Wait several weeks after the last frost date before cutting back. Sometimes stems that look completely dead will resprout from the base when warmth returns. Cut back to living wood (look for green tissue inside the stem when you make a small scratch with your nail) and the plant often recovers vigorously.
Gardeners in Zone 8 or colder who are determined to try poinsettias outdoors should keep them in large containers that can be moved to a sheltered porch, garage, or greenhouse when temperatures drop. In-ground planting in those zones is a reliable way to lose the plant.
Variety recommendations for outdoor planting
Most commercially sold holiday varieties are bred for compact pot size and a short indoor display life, not for vigor as outdoor landscape shrubs. For in-ground planting, look for varieties described as vigorous, landscape-type, or large-growing. The older, less hybridized types tend to perform better outdoors because they haven't been bred purely for compact container growth.
| Variety / type | Bract color | Outdoor suitability notes |
|---|---|---|
| Standard red landscape types (often sold as 'landscape poinsettia') | Classic red | Vigorous, can reach 6–10 ft; best for in-ground hedges and specimen plants |
| 'Prestige Red' | Deep red | Strong grower, widely available, good bract retention outdoors |
| 'Ice Punch' | Red with white centers | Compact-to-medium; grows well outdoors in Zone 10–11 with good pruning |
| 'Winter Rose' | Deep red, rose-form bracts | More compact; better suited to containers or sheltered spots in Zone 9–10 |
| Wild/species type (Euphorbia pulcherrima) | Red | Tallest and most cold-tolerant of the group; excellent landscape performer in Zones 9b–11 |
When buying for outdoor planting, ask the nursery specifically for landscape-grade or larger growing varieties if they're available. A 1-gallon pot of a vigorous type will outgrow a 4-gallon compact cultivar within two seasons once it's in the ground.
Pests and diseases: what to watch for and how to respond
Outdoor poinsettias attract a predictable set of problems. The most common insects are whiteflies, mealybugs, aphids, and spider mites. Whiteflies and mealybugs tend to cluster on new growth and the undersides of leaves; aphids congregate on shoot tips. Spider mites, which are more of a problem in hot, dry conditions, create a fine webbing on leaf undersides and cause stippled, bronzed foliage. A strong jet of water dislodges early infestations; insecticidal soap or neem oil handles moderate problems. Check plants regularly, especially during summer, since catching infestations early is much easier than fighting a heavy infestation.
In some regions, the poinsettia hornworm (a large caterpillar) can defoliate branches quickly. Hand-pick caterpillars when you spot them, or use Bacillus thuringiensis (Bt) as a low-impact option.
On the disease side, the two big ones are root rot (caused by Phytophthora or Pythium in waterlogged conditions) and poinsettia scab (Sphaceloma poinsettiae), a fungal disease that causes raised, corky lesions on stems and leaves in warm, humid climates. Root rot prevention comes down almost entirely to drainage: if your soil drains well and you don't overwater, root rot is rarely a problem. For scab, good air circulation around the plant, avoiding overhead watering, and removing and disposing of affected material helps control spread. Fungicide applications can help in severe cases, but sanitation and airflow are the first line of defense.
| Problem | Symptoms | Fix |
|---|---|---|
| Whiteflies | Tiny white insects on leaf undersides; yellowing leaves | Neem oil, insecticidal soap, sticky yellow traps |
| Mealybugs | White cottony clusters at stem joints and leaf bases | Rubbing alcohol on a cotton swab; insecticidal soap spray |
| Spider mites | Fine webbing, stippled/bronzed leaves; worse in dry heat | Water jet to dislodge; neem oil; increase humidity around plant |
| Aphids | Soft green/black insects on new growth; sticky residue | Strong water spray; insecticidal soap; introduce beneficial insects |
| Root rot (Phytophthora/Pythium) | Wilting despite moist soil; blackened, mushy stems at base | Improve drainage immediately; reduce watering; remove affected tissue |
| Poinsettia scab | Raised, corky lesions on stems and leaves | Improve air circulation; remove affected parts; apply fungicide if severe |
| Leaf/bract drop from cold | Sudden yellowing and leaf drop after cold spell | Move to warmer location or cover; avoid temps below 55°F |
A note on toxicity and safe handling
Poinsettias have a reputation for being highly toxic, but the reality is more nuanced. The milky white latex sap in the stems and leaves can cause skin irritation in sensitive individuals and mild gastrointestinal upset (nausea, vomiting) if ingested in quantity, particularly in children or pets. Wear gloves when pruning to avoid sap contact, especially if you have sensitive skin. Keep pets away from freshly pruned material. That said, poinsettias are not among the most dangerously toxic landscape plants, and the risk from casual contact is low.
In-ground vs. container: how to decide
The honest answer is that the decision almost makes itself based on your climate. If you're in Zone 9b or warmer, in-ground planting delivers a bigger, more impressive plant that blooms naturally each year with minimal intervention. For gardeners in warm climates seeking a vigorous, flowering climber as an alternative or companion plant, see guidance on how to grow pyrostegia venusta. If you're in Zone 9a, in-ground is possible but requires frost protection and carries real risk. Below Zone 9, keeping poinsettias in containers that you can move indoors for winter is simply the smarter approach.
| Factor | In-ground planting | Container planting |
|---|---|---|
| Best climate | USDA Zones 9b–11 (frost-free or near frost-free) | Any zone; move indoors when cold |
| Plant size potential | 6–12 ft tall; large specimen or hedge | Typically 2–4 ft; limited by pot size |
| Maintenance level | Low once established; prune twice yearly | Higher: regular watering, repotting, fertilizing |
| Blooming | Often natural from shortening days; may need light management | Easier to control dark period for forcing |
| Winter risk | Freeze can kill plant; hard to protect large specimens | Move inside; near-zero risk with indoor overwintering |
| Cost over time | Lower: one purchase, plant grows for years | Higher: repotting costs, more intensive care |
| Ideal for | Warm-climate gardeners wanting a landscape statement | Gardeners in cooler climates or with limited outdoor space |
If you've got the climate for it, I genuinely think in-ground poinsettias are one of the most rewarding ornamental shrubs you can plant in a warm-weather garden. The scale, the natural seasonal blooming, and the low-maintenance nature of an established plant make it worth the effort of getting the site and planting right from the start. Get those basics right, keep an eye on pests, and you'll have a plant that puts on a better show than any holiday pot ever could.
FAQ
Can home gardeners successfully grow poinsettias (Euphorbia pulcherrima) in the ground?
Yes—if you live in a suitably warm climate (generally USDA zones 9a–11b) and can provide frost protection, well‑drained soil, and the seasonal light/temperature control needed for color. Outside those zones poinsettias are usually safer in containers so they can be moved for winter or cold nights.
How do I choose the best site for planting poinsettias in the ground?
Pick a site with filtered sun to afternoon shade (4–6 hours bright indirect light; avoid hot afternoon sun in very warm regions). Soil must be well drained (not waterlogged). Choose a spot with night lows consistently above about 50°F (10°C) during the growing season and clear of sources of night light if you plan to force bracts in place.
What soil and soil‑preparation steps are recommended before planting?
Work the bed to loosen to 12–18 inches. Amend heavy clay with coarse sand or coarse perlite and 20–30% organic matter (compost) to improve drainage. Target a planting pH ~5.5–6.5. If drainage is poor, consider raised beds or mounding. Keep soil evenly moist but not saturated.
How and when should I plant poinsettias in the ground from liners, plugs, or transplants?
Plant after the last hard frost when night temps are reliably above ~50°F. Dig a hole as deep as the root ball and 1.5–2× as wide. Place the plant at the same depth as in its container, backfill, firm soil around roots, and water thoroughly. Space plants 1–3 ft apart depending on cultivar mature size (use 2–3 ft for larger landscape types; 12–18 in for smaller varieties). Mulch 2–3 in to conserve moisture but keep mulch away from stems.
What are practical ongoing care tasks (watering, feeding, pruning)?
Water: keep evenly moist; let the top 1–2 in of soil dry between deep waterings. Avoid waterlogging. Fertilize: for landscape plants use a balanced fertilizer monthly during active growth following label rates (soil test first if possible). Prune: pinch or prune to shape after planting to encourage branching. After bloom, prune back to 12–18 in if shaping or to rejuvenate; heavy pruning is best in spring. Monitor for nutrient-deficiency signs and adjust.
How do I force or re‑bloom poinsettias so bracts color for the holidays?
Poinsettias are short‑day (long‑night) plants. To induce bracts, give about 14 hours of continuous darkness each night (for example cover or move to dark place from ~5 p.m. to 8 a.m.) and 10 hours of bright light daily for about 6–10 weeks. Begin timing in late September to early October for mid‑December color; exact start and length depend on cultivar and temperature. Night temperatures ~60–70°F during induction help reliable development. Avoid any light leaks during dark periods (even small sources can interrupt induction).
How to Grow Poinsettias From Plugs Plug-to-Bloom Guide
Step-by-step plug-to-bloom guide for poinsettias: timing, potting mix, light, temperature, watering, photoperiod control