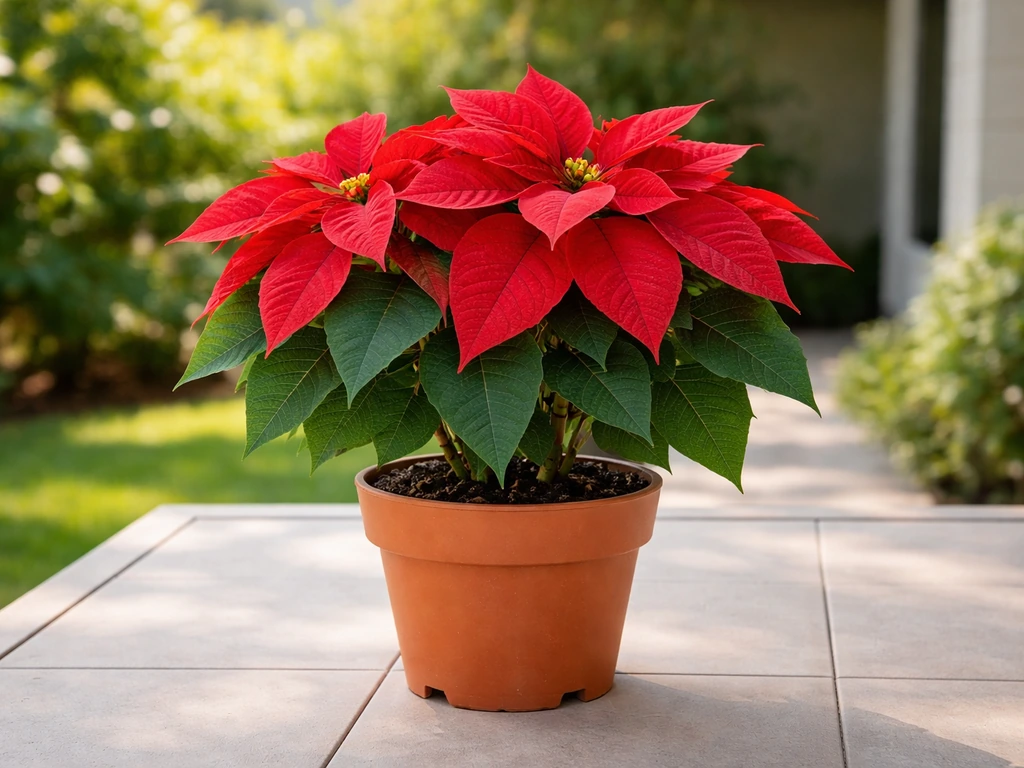
Growing poinsettias from plugs is genuinely one of the most reliable ways to get a full, bushy, bract-covered plant by the holidays, if you follow the right sequence. A plug gives you a head start over starting from scratch, but you still need to nail the transplanting, feeding, pinching, and especially the photoperiod control to get those bracts coloring on schedule. Here's the full plug-to-bloom pathway, from potting up today through finishing care in fall. If you plan to grow poinsettias outdoors in the ground, you also need to choose the right site and timing for planting and care how to grow poinsettias in the ground.
How to Grow Poinsettias From Plugs Plug-to-Bloom Guide

Harriet Whitmore
1 Jul 2026
What poinsettia plugs actually are (and why it matters)
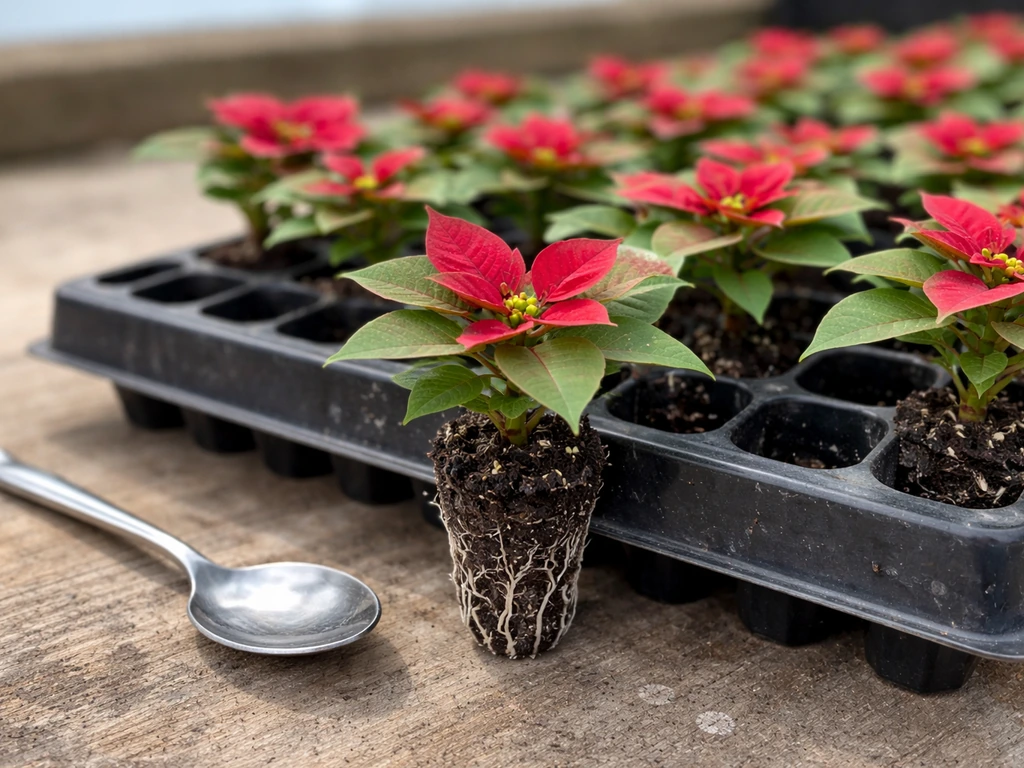
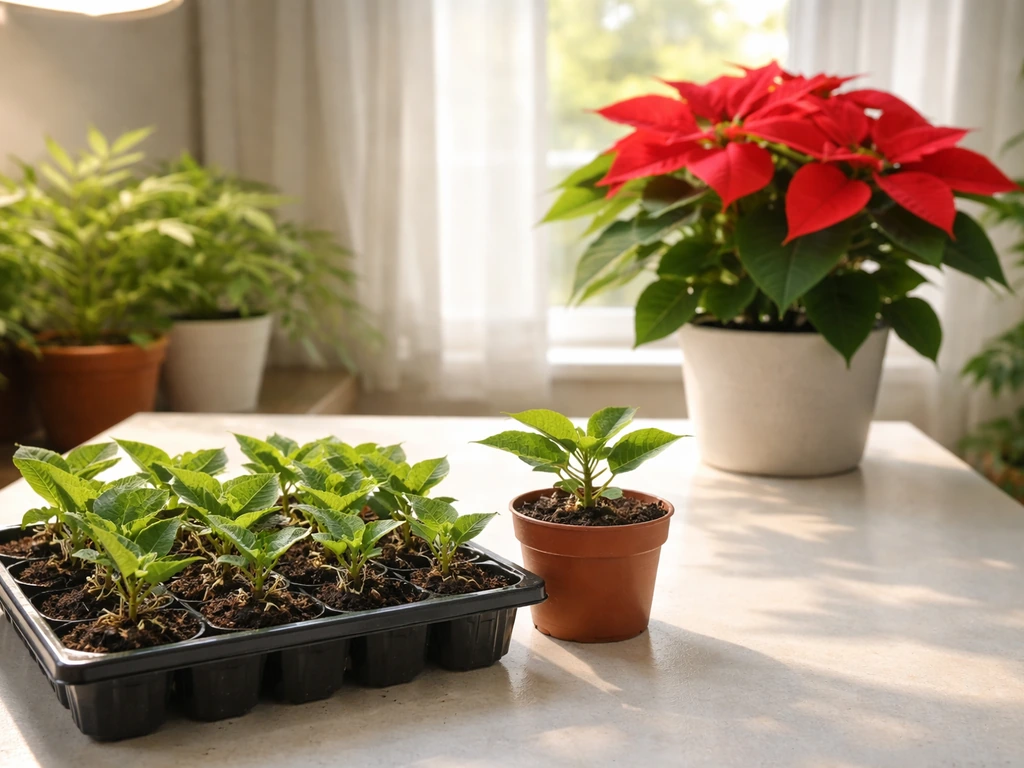
A plug is a rooted cutting that has been propagated in a small, individual cell, usually a high-cell-count tray system with 50 to 104 cells, so each plant comes with its own small but intact root ball. That's meaningfully different from a bare-root cutting (no medium around the roots, higher transplant shock risk) or a potted start (already in a larger container, often further along in development). Plugs sit in the middle: the roots are established and actively growing, but the plant is still young enough that you're shaping its structure from the start. That's your window of maximum influence.
Timing matters a lot here. For Christmas bloom, you want to pot up plugs in late June through early July, which, if you're reading this on July 1, is exactly right now. This gives you roughly six weeks of vegetative growth and pinching before short-day treatment begins in late September, plus another eight to ten weeks for bract development. If you're working with a plug that arrived earlier or you're in a climate where the schedule shifts (Florida, Australia, or the Philippines, for example, all have different natural photoperiod calendars), adjust accordingly, but the core sequence stays the same. If you’re figuring out how to grow poinsettias in Florida, use the same core timing and photoperiod controls, but expect slight schedule shifts based on your local conditions.
Potting up: container size, mix, and setup
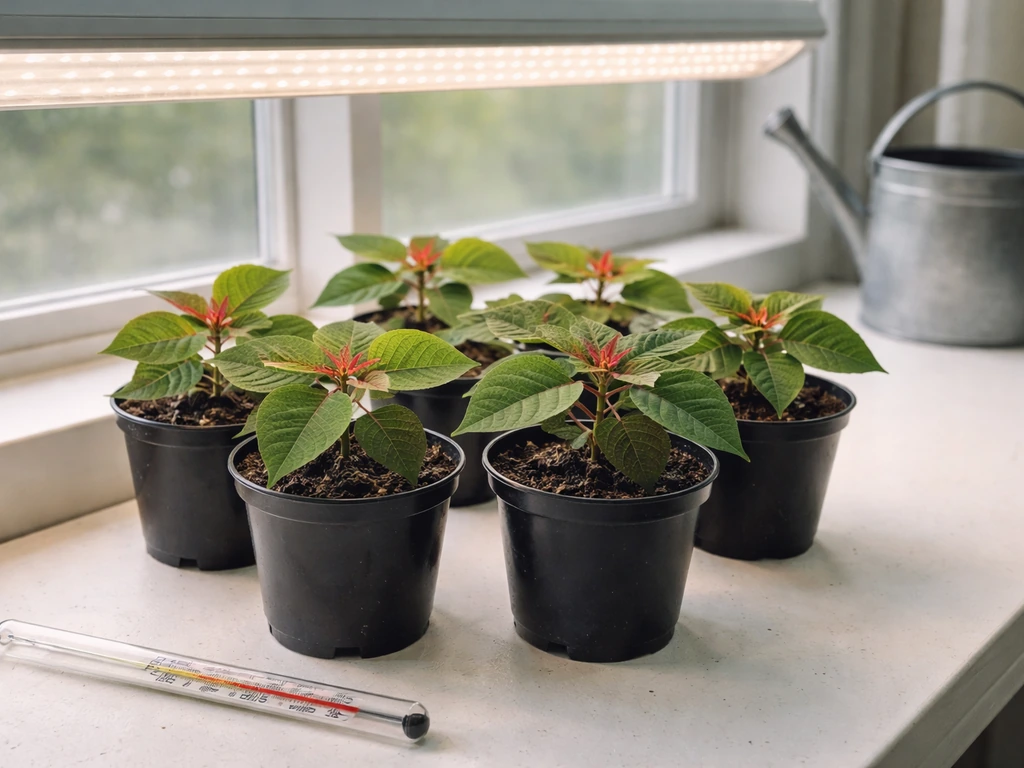
For a single plug, start in a 4 to 6 inch pot and plan to finish in a 6 to 8 inch container for a standard plant, or up to 10 inches if you're pinching to get a multi-stem specimen. The key reason not to jump straight to a huge pot: excess substrate around young roots stays wet too long, and wet, unrooted media is where root rot starts. Match the container size to the root system, not to how big you want the plant to eventually get.
For the potting mix, use a well-aerated, peat-based medium with perlite mixed in, roughly a 70:30 peat-to-perlite ratio works well for home growers. The perlite is doing real work here: it increases air space in the root zone, which keeps roots from suffocating even if you slightly overwater. Aim for a starting substrate pH of 5.8 to 6.2 and a low starting EC (around 1.0 to 1.5 mS). If you're using a commercial potting mix, choose one labeled for flowering potted plants rather than a generic garden mix, and avoid anything with added slow-release fertilizer in large amounts, you want to control feeding yourself.
Before you pot up, make sure your container has drainage holes and is clean. Rinse any previously used pots with a dilute bleach solution and let them dry. Root rot pathogens like Rhizoctonia and Pythium are commonly introduced through contaminated containers and growing medium, and a plug's young root system has almost no tolerance for them.
To transplant the plug, water it lightly about an hour before so the root ball holds together. Create a small well in the center of your prepared mix, set the plug in so the root ball top is just at or slightly below the soil surface, and firm the mix gently around it. Water in immediately after potting, but only until water runs freely from the drainage holes, not until the container feels heavy and saturated.
Light, temperature, and watering during establishment
Light
Poinsettias want as much bright, direct light as you can give them during the vegetative phase, at least six hours of direct sun daily. A south- or west-facing window works indoors, or place them outside in a sheltered, sunny spot if temperatures cooperate. One thing to be careful about: in mid-summer, intense afternoon sun through glass can scorch leaves on a young plug that hasn't hardened off yet. Acclimate it to full outdoor conditions gradually over a week if you're moving it from indoors.
Temperature
Aim for daytime temperatures between 65 and 75°F and nights no lower than 60°F during the vegetative phase. Temperatures above 85°F slow growth and cause stress, while anything below 50°F can cause leaf drop and set back root development significantly. If you're growing outdoors, bring plugs in on cool nights rather than gambling. Temperature consistency matters more than perfection, wild swings stress the plant more than a degree or two outside the ideal range.
Watering
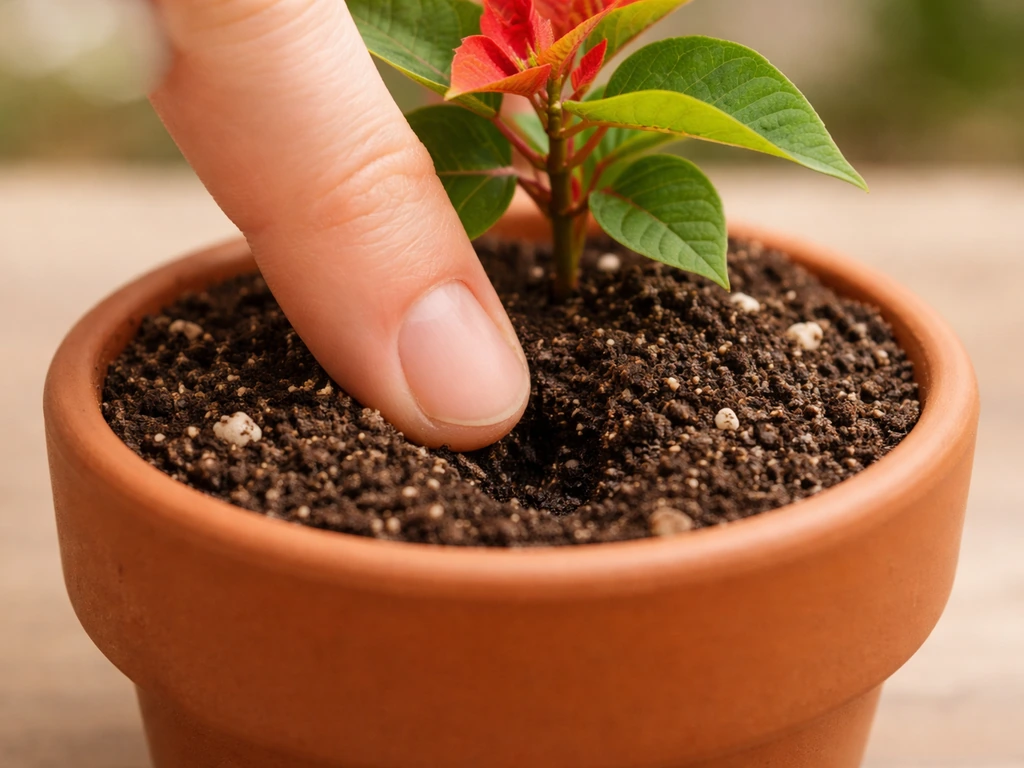
The most common way to kill a poinsettia plug is to water it on a fixed schedule rather than reading the plant and the medium. Check moisture by pressing a finger an inch into the mix, water when the top inch feels dry, not before. When you do water, water thoroughly until it drains from the bottom, then let the medium partially dry before watering again. Roots need oxygen as much as moisture; a constantly saturated mix suffocates them and creates the exact conditions root rot pathogens love. If your pot feels heavy and the leaves look wilted anyway, that's almost always overwatering, not underwatering. If the mix feels bone dry and the lower leaves are curling, water immediately and consider more frequent checks.
Water quality matters more than most home growers realize. Use water with a neutral or slightly acidic pH (around 6.5 to 7.0) and low dissolved solids. If your tap water is very alkaline or has high salt content, consider using filtered or collected rainwater, especially as you approach the bract development phase when the plant is more sensitive.
Feeding your plugs: a phase-by-phase fertilizing schedule
Don't fertilize immediately after transplanting, give the plug one to two weeks to establish roots in the new medium without the additional stress of high nutrient concentrations. After that initial rest period, start a consistent liquid feed program using a balanced fertilizer at around 200 to 250 ppm nitrogen. A 20-10-20 or similar balanced formula works well during vegetative growth. Apply it with every other watering, or weekly at the full rate, rather than every watering at a diluted rate, consistency matters more than frequency.
Calcium is worth paying specific attention to. Calcium deficiency shows up as bract edge burn (brown, papery margins on the colored bracts) right when you want the plant looking its best. Including calcium nitrate in your feeding rotation, or using a fertilizer that contains calcium, helps prevent this. Magnesium deficiency can also appear as interveinal yellowing on older leaves; a dilute Epsom salt drench once or twice during the vegetative phase addresses this if it shows up.
Once you begin short-day treatment (more on that below), shift your fertilizer strategy. Reduce nitrogen slightly and maintain potassium and phosphorus to support bract development rather than continued leafy vegetative growth. Once bracts are showing color, back off fertilizing to roughly half the vegetative rate. Overfeeding during the finishing phase can push new vegetative growth at the expense of bract quality.
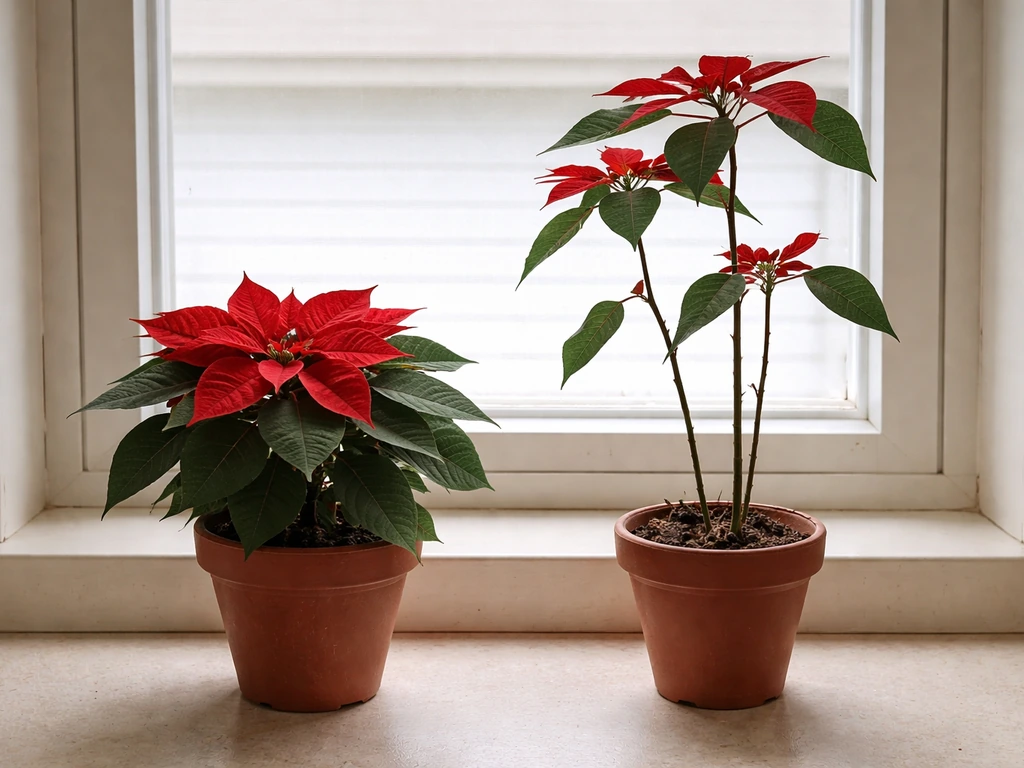
Pinching for branching: timing is everything
Pinching, removing the growing tip of each stem, is what creates a bushy, multi-branched plant instead of a single tall shoot with one cluster of bracts at the top. For plugs potted up in early July, the timing works out like this: make your first pinch about two to three weeks after transplanting, once the plug has established and new growth is several inches long. That puts your first pinch around the third or fourth week of July. A second pinch in mid-August encourages another round of branching before you need to start short-day treatment.
When you pinch, leave about five to seven nodes (leaf attachment points) on each stem. Pinching back to fewer nodes creates a very compact plant; leaving more nodes gives you longer branches with more bract clusters. Don't pinch after mid-August, you need enough time for the new shoots to develop before photoperiod treatment begins, and shoots roughly double in length in the four weeks after short days start, so late pinching leads to floppy, over-extended plants. This timing is only practical when you know when short days begin, and Texas A&M also reports that shoots nearly double their length about four weeks after the start of short-day treatment, which matters for scheduling pinches to prevent excessive stretch the start of short days is known.
Use clean, sharp scissors or pruners and make cuts just above a leaf node. Dirty tools can introduce pathogens directly into fresh cuts on a plant that's already working hard to push new growth.
Troubleshooting the problems plugs actually run into
Slow growth or no new leaves after transplanting
If a plug sits motionless for more than two weeks after potting up, check the roots. Gently tip the plant out of the container, healthy roots should be white to cream-colored and firm. Brown, mushy roots mean root rot has set in, likely from overwatering or contaminated medium. If only a small portion of roots is affected, trim away the damaged roots, dust the cut ends with a fungicide powder, and repot in fresh sterile mix. If most roots are gone, the plug is unlikely to recover.
Leggy growth (tall and thin instead of compact)
Leggy growth almost always means insufficient light. Move the plant to a brighter location immediately and pinch the current growth back to a strong node. If you're indoors and can't offer more natural light, a grow light positioned 4 to 6 inches above the canopy for 14 to 16 hours a day will help during the vegetative phase (just be aware this supplemental light must be cut off completely once you begin short-day treatment).
Yellowing leaves and leaf drop
Lower-leaf yellowing followed by drop is the most common symptom of overwatering and root rot. Check the roots as described above and adjust your watering immediately. If the roots look fine, yellowing may indicate a nitrogen deficiency (especially if the yellowing is uniform across older leaves), increase fertilizer rate and check that your medium pH is in range (low pH locks out nitrogen). Sudden leaf drop without yellowing often means the plant experienced a cold draft, temperature shock, or was moved abruptly from low to high light.
Transplant shock
Some wilting and leaf droop in the first few days after potting up is normal. Keep the plant out of direct midday sun for the first week, water it in well at transplanting, and resist the urge to water again until the top inch of medium dries. Most plugs pull through transplant stress within five to seven days if the root system was intact when you potted up.
Plant won't branch after pinching
If new side shoots aren't emerging two weeks after pinching, the plant is likely stressed, check for root problems, low light, or temperature issues. Make sure you pinched just above a visible node; pinching between nodes gives the plant nowhere to push new growth from.
Getting bracts on schedule: photoperiod control and finishing care
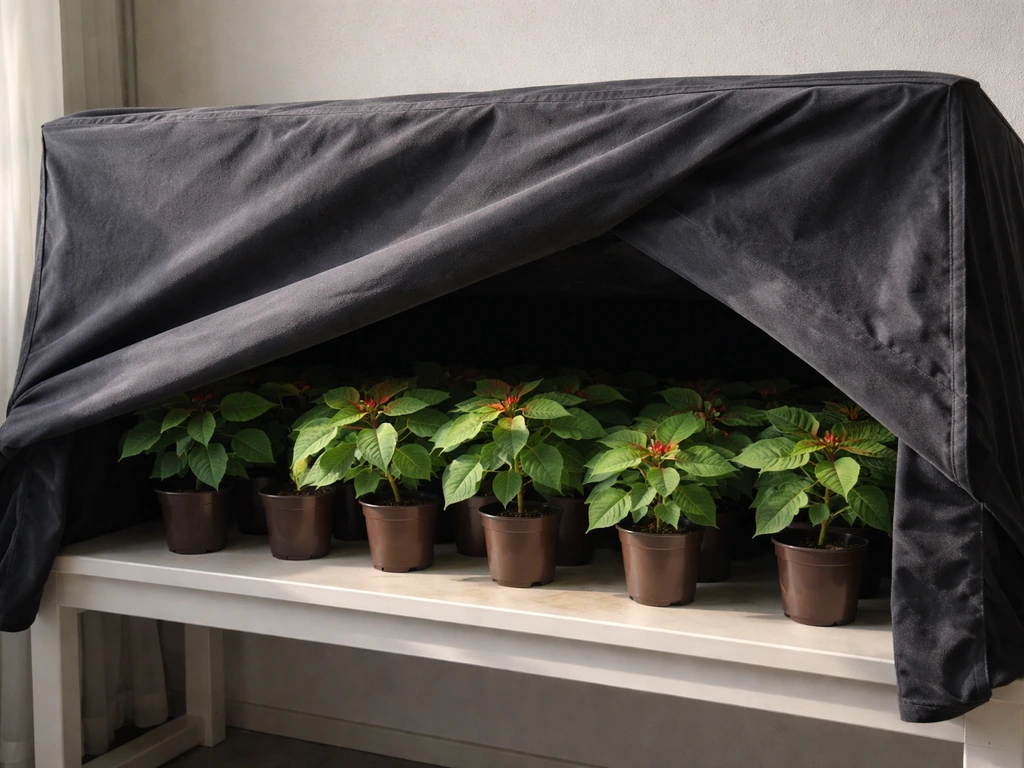
Poinsettias are short-day plants, meaning they need long, uninterrupted nights to trigger flowering and bract development. Follow these same steps after short-day treatment begins so your bracts develop on time for Christmas short-day plants. The critical threshold is about 11 hours and 45 minutes of continuous darkness per night, but initiation happens fastest at 14 to 14.5 hours of darkness at night temperatures around 60 to 70°F. For Christmas bloom, begin short-day treatment around September 20 to 25.
The method at home: starting on your chosen date, move the plant into complete darkness for at least 13 to 14 hours every single night, then return it to bright light during the day. A closet, a cardboard box placed over the plant, or a dedicated dark room all work. The critical word is complete, even a brief exposure to light from a streetlight, a phone screen, or a cracked door can interrupt the dark period and reset the clock, delaying or preventing flowering. This is one of the places where light leaks really do ruin results, so it's worth taking seriously.
Here's roughly what to expect once short days begin, based on temperatures around 70°F at night:
| Days after short-day start | What's happening |
|---|---|
| 14 to 18 days | Flower initiation occurring inside the shoot tips |
| 30 to 32 days | First bract color becoming visible |
| 35 to 39 days | Visible flower buds present |
| 54 to 59 days | Anthesis (flowers open, bracts fully developed) |
If you start short days on September 22, you can expect first color around late October and full bract development by mid- to late November, right on schedule for holiday display. For Australia, use the same photoperiod approach but align your short-day start date and day length changes to your local spring to autumn schedule short days. Once bracts are showing strong color (usually by late October into November), you can stop the artificial dark period if natural nights are already long enough where you live, typically around October 15 onward in most of the continental US.
During the finishing phase, keep temperatures consistent (nights above 60°F, days below 75°F), reduce fertilizer to half the vegetative rate, and water carefully, the plant is less vigorous at this stage and overwatering risk increases. Avoid moving the plant, exposing it to cold drafts, or sudden changes in light level. All of those stress triggers cause the same response: lower-leaf drop and bract damage right when you want the plant looking its best.
If you're growing poinsettias in a greenhouse, outdoors in a frost-free climate, or in a region with a different seasonal rhythm, like Florida or Australia, the same photoperiod principles apply, but your natural day length calendar and temperature window will differ. The core logic of the sequence doesn't change: vegetative growth, pinching, then short-day induction, then finishing. Getting familiar with that sequence is what makes the difference between a plant that reliably blooms and one that just grows leaves all winter. If you follow the right post-Christmas cleanup and storage steps, you can also plan for how to grow poinsettia after Christmas Finishing care.
FAQ
How long do plugs usually take before they start growing visibly again after potting up?
Most healthy plugs show renewed growth within about 5 to 7 days. If you see no new shoots after 10 to 14 days, tip the plant out and check root color and firmness immediately, because a slow start can be root rot from staying too wet rather than normal transplant shock.
Can I start short-day treatment earlier than September 20 to get color sooner?
You can, but it often backfires because the plant needs enough time to branch and build bract size. If you start early, you may get bracts that color weakly or plants that look undersized, especially if temperatures are warm. Stick close to the date window and only shift it based on your local day length and night temperature.
What counts as “complete darkness” during short-day treatment, and how strict do I need to be?
The darkness has to be uninterrupted, include no light from streetlights, phone screens, or a nearby window glow, even for short periods. Use an opaque cover that fully blocks stray light and make sure you put the plant back outside the dark room only when it is time for the day light cycle to begin.
My poinsettia is getting leggy, but I think it’s getting enough sun. What should I check first?
Leggy growth is usually a light quality or light duration problem, not fertilizer or watering. Confirm you’re providing true direct light for at least six hours in the vegetative phase, and if indoors use a grow light with consistent height (about 4 to 6 inches above the canopy) and keep it on the full 14 to 16 hours before short days start.
How do I avoid overwatering with plugs if the surface dries slowly?
Don’t water based on surface appearance alone. Press your finger about an inch into the mix, water only when that depth feels dry, and water thoroughly until it drains. Then wait for partial drying again, a constantly heavy pot weight plus drooping leaves almost always points to overwatering.
Is a larger pot always better for plugs, so they don’t feel cramped?
No. Jumping to a much larger container increases the time the media stays wet, which raises root rot risk for young plugs. Pot up to a finish size gradually, typically from a 4 to 6 inch pot to a 6 to 8 inch pot, or up to 10 inches for a multi-stem specimen.
Should I fertilize right after I transplant the plug into its new pot?
Delay feeding for about one to two weeks after potting. The plug roots need time to recover and colonize the new mix before nutrients are added, otherwise high salt or nutrient stress can slow growth and increase yellowing.
Why do my bracts get brown, papery edges even though my plant otherwise looks healthy?
Bract edge burn commonly points to calcium deficiency. If you see browning on the bract margins around the time you want color, adjust your feeding to include a calcium source such as calcium nitrate in the rotation, and confirm your medium pH is not drifting too low, since low pH can reduce nutrient availability.
When I pinch, how many nodes should I leave, and what’s the tradeoff?
Leave roughly 5 to 7 nodes per stem. Fewer nodes make a very compact plant, more nodes create longer branches and additional bract clusters. The bigger tradeoff is timing too, avoid pinching after mid-August so the new shoots mature before short days begin.
What if my plug doesn’t respond after pinching, with no side shoots within two weeks?
First re-check that your cut is directly above a visible leaf node. Then look for stress triggers: root problems, insufficient light, or temperature issues. Lack of side shoots after about two weeks is often a sign the plant can’t push growth due to one of those factors.
Do I need to keep feeding the same during the short-day and bract-coloring phase?
No, reduce nitrogen and scale down overall feeding as bracts color. Maintain a program that supports bract development rather than continued leafy growth, and once bracts show strong color, back off to about half the vegetative rate to protect bract quality.
Can I move the plant during short-day treatment if I need to rotate it for light?
Avoid moving or significantly rotating the plant once short-day treatment begins, and protect it from drafts and sudden light changes. Even though it sounds minor, disruption can contribute to leaf drop and bract damage at the exact time you’re trying to build quality.
What should I do if the plug has brown, mushy roots after potting?
If only a small portion is affected, trim away mushy sections, dust cut ends with a fungicide powder, and repot immediately in fresh sterile mix. If most roots are gone and the root system is largely brown and collapsing, recovery is unlikely and it’s usually best to replace the plug to avoid losing time before short days.
Next Article
How to Grow Poinsettia in Australia: Step-by-Step Guide
Step-by-step poinsettia care for Australia: setup, light, watering, feeding, blackout bloom timing, and quick fixes.