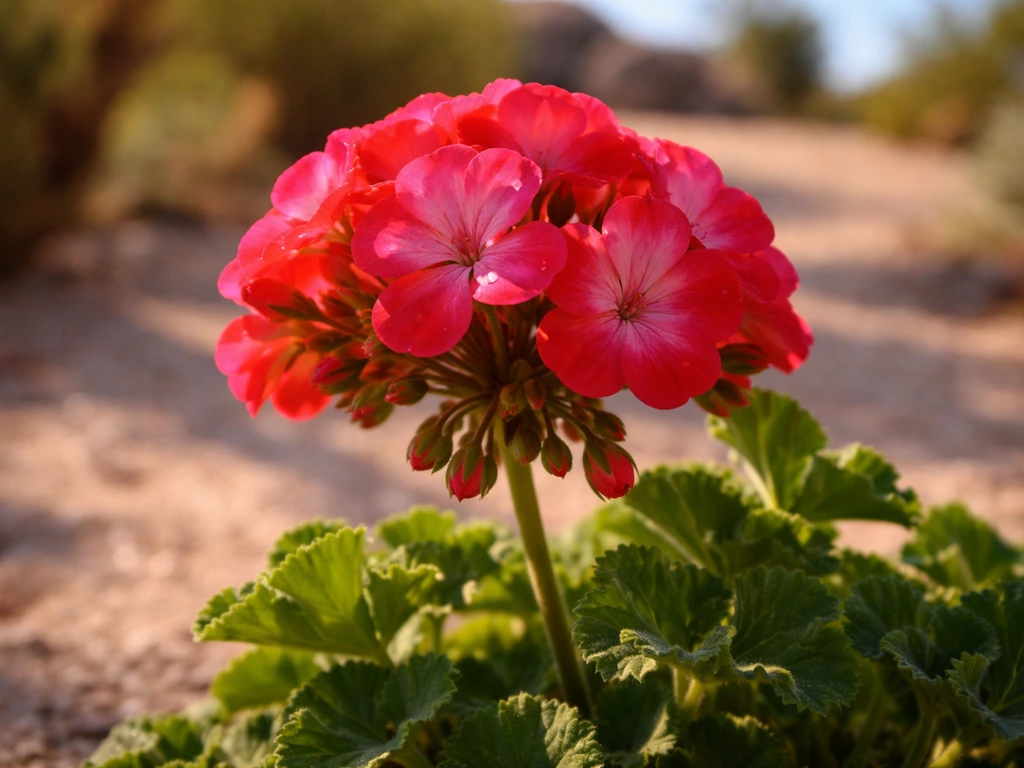
Growing geraniums from plugs is genuinely one of the most beginner-friendly routes to a full, flowering pot or border in a single season. You skip the slowest, trickiest part of the process (germination and early seedling care), and you start with a rooted, established young plant that just needs the right container, good soil, consistent water, and a little warmth to take off. This guide walks you through every step, from popping that plug out of its tray all the way to deadheading a plant covered in blooms.
How to Grow Geraniums from Plugs: Complete Planting Guide

Harriet Whitmore
15 Jul 2026
What this guide covers and who it's for
Whether you've just ordered your first batch of plugs online or you're eyeing a tray at a local nursery, this article gives you a clear, practical plan. I've grown geraniums this way for years, and I still remember the first time I overcrowded a pot and wondered why nothing bloomed properly. This guide covers plug selection, variety choice, climate-zone timing, soil mixes, transplanting technique, ongoing care (watering, feeding, pruning), pest and disease fixes, and how to overwinter plants so you get a second season out of them. There's also a quick comparison with growing from seed or cuttings, so you can decide whether plugs are the right starting point for your situation.
What exactly is a plug?
A plug is a young seedling or rooted cutting grown in a single cell of a multi-cell propagation tray, sometimes called a plug tray or a 1020 flat. Each cell holds a small volume of growing medium, and the plant develops its own discrete rootball inside it. Commercial trays are described by how many cells fit in a standard flat: 72, 128, 200, and 288 are the most common formats for bedding plants. Smaller cell counts mean each cell is larger, the plug stays in the tray longer, and you receive a more developed plant. A 72-cell plug is noticeably bigger than a 288-cell plug, and it will typically establish faster after transplanting.
The big advantage of starting with plugs rather than seeds is that someone else has done the germination work for you. Pelargonium seeds (the bedding geraniums most people grow) can take 7 to 14 days to germinate under warm, humid conditions, and the early seedling stage is where most failures happen: damping off, uneven germination, inconsistent temperatures. A plug sidesteps all of that. You receive a rooted plant that is typically 4 to 7 weeks old, with the root system already established in a stable medium, ready to grow on once it's given more space and food.
How to choose quality plugs
This is where I'd encourage you to slow down and actually look at what you're buying, whether you're at a garden centre or opening a mail-order delivery. A good plug has fibrous, white roots just reaching or very slightly circling the outside of the rootball. See Seed Germination, Plug Production (UF/IFAS Propagation Guide) for a plug selection checklist: check for uniform cell fill and size, white fibrous roots (not brown or black), no slimy or sticky media (signs of Pythium/Phytophthora), and follow supplier recommendations for plant age and finish. If you gently pop a test plug from its cell and the roots are brown, black, or almost absent, walk away. Equally, avoid plugs where roots have wound tightly inside a hollow core (a sign of being rootbound and stressed) or where the base of the stem feels soft or slimy, which can indicate Pythium or Phytophthora root rot.
Uniform growth across the tray matters more than any single plant looking impressive. If half the cells are twice the size of the other half, the batch has been grown unevenly and you'll have problems staging them into pots at the same time. Also check the edge cells first: those dry out fastest in a tray, so weak edge plants often reveal how the whole batch has been managed. Firm, compact stems (not soft or succulent), clean foliage without spots or grey mold, and no visible pests or sticky residue are all signs of a well-grown plug.
- White, fibrous roots just reaching the edge of the cell when gently popped out
- Uniform plant size across the entire tray, not just individual standouts
- Compact, firm stems with no soft or mushy bases
- Clean foliage: no brown spots, grey mold, or yellowing beyond the bottom leaf or two
- No visible pests, webbing (spider mites), or sticky residue on leaves
- No sliminess or wet rot on the growing medium (a sign of Pythium/Phytophthora)
- Supplier recommends a specific 'finish time' (days to transplant-ready): a good sign they know their product
Which geraniums should you grow? Knowing your types
Here's the thing that trips up a lot of gardeners: the word 'geranium' covers plants from two completely different genera, and they behave very differently in the garden. Getting this right before you buy plugs saves a lot of frustration.
Bedding and zonal geraniums (Pelargonium x hortorum)
These are the classic, upright, brightly flowered plants you see in summer pots and window boxes. They are Pelargoniums, not true Geraniums, but the common name has stuck for centuries. They are frost-tender, treated as annuals in most of the US (zones 3-7), and bred for high flower production in full sun. Popular series include Pinto, Maverick, and Bullseye, all of which have been selected for compact, uniform growth suited to pots and 4-6 inch containers. These are typically what you'll find when you buy 'geranium plugs' at a spring nursery.
Martha Washington (regal) geraniums (Pelargonium x domesticum)
Martha Washington or regal geraniums are also Pelargoniums, but they prefer cooler temperatures and tend to bloom in spring and early summer rather than through peak heat. They have larger, more dramatic flowers with ruffled petals, often bicoloured. They're frost-tender like zonals, but they actually stop performing well once summer temperatures push above the mid-80s Fahrenheit, which means timing is everything. If you're in a warmer climate, these are best as spring patio plants that you bring back inside before the heat arrives.
Ivy (trailing) geraniums (Pelargonium peltatum)
Ivy geraniums have a trailing or cascading habit and glossy, shield-shaped leaves. They're excellent for hanging baskets and the edges of large containers. The Calliope series (an interspecific hybrid combining traits of zonal and ivy types) falls loosely into this category and has become very popular because of its strong heat tolerance and long bloom period. If you need a geranium that will perform in hot weather and spill beautifully over a pot edge, look for Calliope or similar interspecific hybrids.
Hardy (perennial) geraniums, or cranesbills (Geranium spp.)
True Geraniums (cranesbills) are cold-hardy perennials that survive winter in the ground across a wide range of USDA zones. Geranium x 'Rozanne' is probably the best known, a long-blooming variety with violet-blue flowers and above-average heat tolerance for its genus. These are border plants and groundcover plants, not container annuals. They come back every year, spread gradually, and thrive with less fussing than Pelargoniums. If you're building a perennial bed rather than seasonal pots, plugs of hardy Geranium are a great investment. For guidance on establishing and maintaining these long-lived plants, see our guide on how to grow perennials. The care details for perennial geraniums differ enough from Pelargoniums that it's worth reading into them separately. For detailed care specific to hardy cranesbills, see how to grow perennial geraniums.
| Type | Genus | Hardy? | Best Use | Bloom Season | Heat Tolerance |
|---|---|---|---|---|---|
| Zonal/bedding | Pelargonium x hortorum | No (zones 10-11) | Pots, beds, borders | Spring to frost | Moderate (some series higher) |
| Martha Washington (regal) | Pelargonium x domesticum | No (zones 10-11) | Spring pots, cool patios | Spring to early summer | Low (prefers cool) |
| Ivy/trailing + interspecific | Pelargonium peltatum / hybrids | No (zones 10-11) | Hanging baskets, cascading containers | Spring to frost | Moderate to high (Calliope) |
| Hardy cranesbill | Geranium spp. | Yes (zones 4-9+) | Perennial borders, groundcover | Spring through summer | Moderate (Rozanne higher) |
Timing by climate zone
Pelargoniums are frost-tender, which means your last average frost date is the single most important number in your planting calendar. In USDA zones 3 through 7, that date falls somewhere between late March and late May depending on your location. You can use your local National Weather Service office's frost climatology pages to find the median last spring freeze date for your specific area. See the NWS Frost and Freeze Information (example local NWS page) for median first/last frost dates, probability bands, and the 1991–2020 normals used nationally to convert those dates into safe transplanting guidance for your station. I'd suggest not transplanting plugs outdoors until you're past that date or within a few days of it with a forecast check in hand.
In zones 8 through 10, Pelargoniums can potentially survive mild winters outdoors, especially in protected spots, and you have more flexibility. You can transplant plugs in early spring (February to March in much of the South) or even in autumn for winter container colour. In very hot inland areas, including much of Texas, the bigger concern is summer heat rather than frost. Zonal and Martha Washington geraniums struggle when daytime temperatures push consistently above 90-95 degrees Fahrenheit. For gardeners in those regions, treating geraniums as cool-season plants, planting in early spring or early autumn and providing afternoon shade in summer, is often the right approach. Heat-tolerant interspecific hybrids like Calliope will handle summer better than standard zonals or Martha Washingtons.
| USDA Zone | Climate Behaviour | Best Transplant Window | Notes |
|---|---|---|---|
| Zones 3-5 | Annual only | After last frost: May-late May | Start plugs indoors 4-6 weeks before transplant date |
| Zones 6-7 | Annual only | After last frost: late March-late April | Harden off well before planting out |
| Zones 8-9 | Tender perennial/annual | Feb-April or Sept-Oct | Provide afternoon shade in peak summer |
| Zone 10+ | Perennial outdoors | Year-round with care | Protect from rare frosts; watch for heat stress |
| Hot inland Texas (zones 8b-9a) | Cool-season annual | Feb-April (spring) or Sept-Oct (fall) | Choose Calliope or heat-tolerant interspecifics for summer |
Plug to pot: a week-by-week planting timeline
This is a general timeline based on receiving plugs 4-6 weeks before your intended outdoor planting date. Adjust the weeks backward or forward based on your actual last frost date.
- Week 1 (arrival): Unpack plugs immediately, water lightly if the medium is dry, and place in bright indoor light (a sunny windowsill or under grow lights at 14-16 hours). Check for any transit damage or disease. Do not fertilise yet.
- Week 2: Roots should begin exploring the cell edges. Keep temperatures around 60-65°F at night and 65-70°F during the day. Begin very light liquid feeding at quarter-strength (a balanced fertiliser such as 20-20-20) once you see new top growth.
- Week 3-4: Transplant plugs into their final containers or into larger 4-inch pots if you're staging them up before outdoor beds. Follow the transplanting steps below. Keep plants in bright indoor light or a cold frame.
- Week 5 (hardening off): Move plants outdoors for a few hours each day, starting in a sheltered spot out of direct midday sun. Bring in at night if temperatures will drop below 45°F. Gradually increase outdoor exposure over 7-10 days.
- Week 6 (planting out): Once your last frost date has passed and plants have been fully hardened off, transplant to final outdoor positions. Water in thoroughly and mulch around base of bed plants.
- Weeks 7-10: Feed every 7-14 days with a high-potassium liquid fertiliser (a tomato-type feed works well). Deadhead regularly. Watch for the first real flush of outdoor blooms.
Setting up containers and garden beds
Container sizing
For a single upright zonal geranium, a 6 to 8-inch pot gives it enough room to develop without sitting in too much wet soil between waterings. If you want to fill a larger container (10 to 12 inches), plant 3 to 5 smaller cultivars or mix trailing types with an upright variety in the centre. Going too large with a single plug is a common beginner mistake: the extra soil volume stays wet, roots sit in cold, soggy media, and you get slow establishment and potential rot before the plant even gets going.
Drainage is non-negotiable
Every container needs drainage holes. This sounds obvious but I've seen beautiful pots without them kill geraniums within weeks. If you're working with a decorative pot that has no holes, use it as a cachepot and drop a holed grower's pot inside it. When planting in the ground or a raised bed, geraniums can handle typical garden soil as long as it drains freely. Compacted clay without amendment will cause problems fast.
Spacing in garden beds
In beds and borders, space standard zonal Pelargoniums 18 to 24 inches apart. This feels generous when you're planting small plugs in spring, but it prevents the air circulation problems that invite botrytis (grey mould) and allows each plant to develop its full spread. Compact cultivars can be planted closer, around 12 to 15 inches, but check the breeder's spacing recommendation for your specific series.
Getting the soil mix right
Geraniums (Pelargoniums specifically) want a well-draining, slightly gritty growing medium, not a dense, moisture-retentive peat mix. The plugs themselves will have been grown in a soilless peat-lite or coir-based medium with perlite or vermiculite for aeration, and you want to match that feel in your final mix rather than shock the roots by dropping them into something totally different.
A reliable all-purpose container mix for geraniums is roughly 60% good-quality peat-based or coir-based potting compost, 20-25% perlite (for drainage and aeration), and 10-15% coarse horticultural grit or sharp sand. Avoid mixes that are heavily amended with water-retaining gel crystals or very high proportions of fine bark fines, as these stay wet and can encourage Pythium root rot. If you're using a premium branded potting mix, check that it feels open and slightly gritty in your hands, not dense and clay-like when compressed.
For garden beds, work in grit or coarse sand and some composted organic matter if your soil is heavy. You're aiming for a loamy, free-draining structure that holds some moisture but never becomes waterlogged. A pH of around 5.8 to 6.5 suits Pelargoniums well.
| Mix Component | Proportion | Purpose |
|---|---|---|
| Peat-based or coir compost | 60% | Base structure, moisture retention, nutrient holding |
| Perlite | 20-25% | Drainage, aeration, prevents compaction |
| Coarse grit or sharp sand | 10-15% | Extra drainage, ballast in outdoor containers |
| Slow-release granular fertiliser (optional) | Per label rate | Background nutrition for 3-4 months |
Transplanting your plugs: step by step
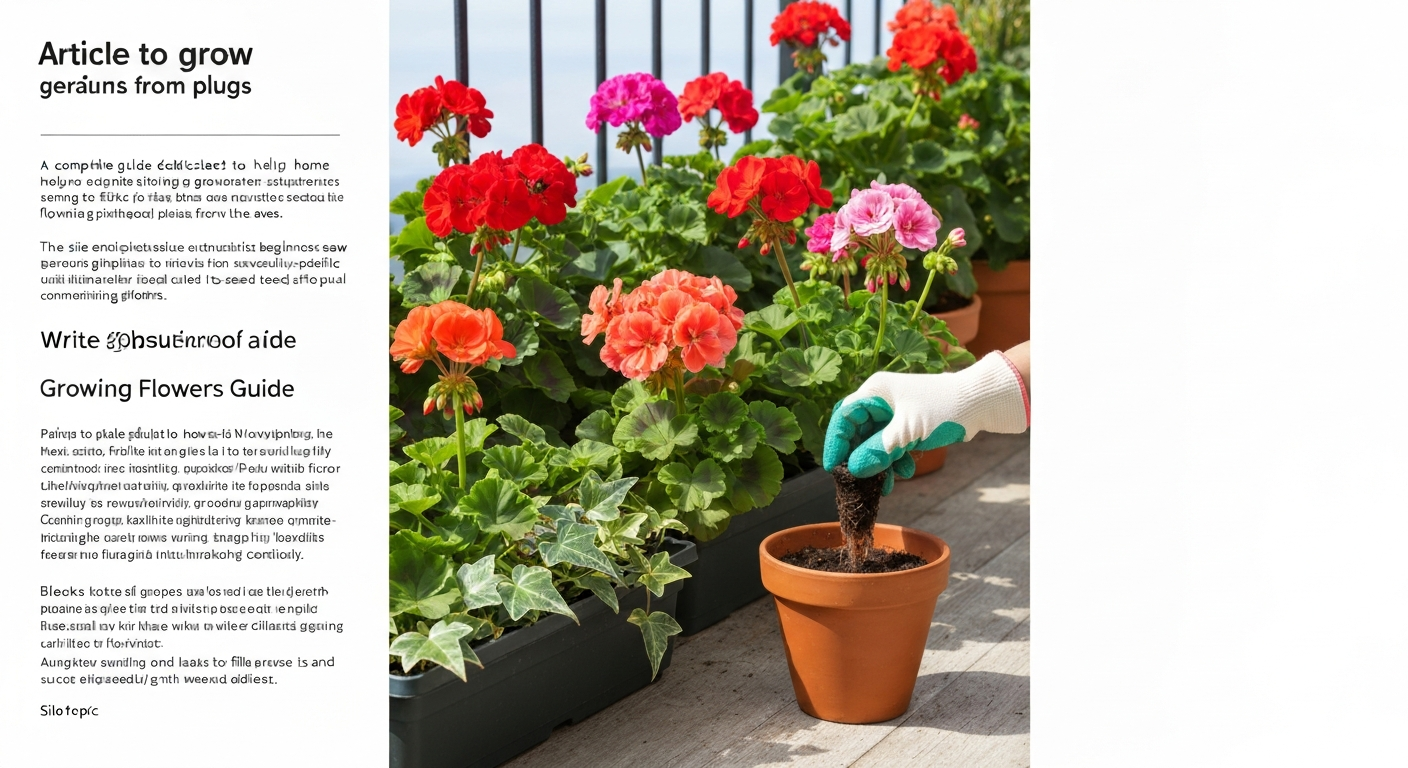
Water your plug tray thoroughly 1 to 3 hours before transplanting. This firms up the rootball inside each cell and makes it much easier to pop the plug out cleanly without the medium crumbling away. Pre-fill your container or prepared bed hole with moist potting mix and make a hole sized to the rootball. To remove the plug, either press up from underneath the cell (many trays have release holes) or use a pencil or plug popper tool. Always support the plant at the crown, not by pulling the stem.
Set the plug at exactly the same depth it was in its cell: the base of the stem should sit at the same level relative to the soil surface. Planting too deep buries the stem and invites rot; planting too shallow exposes roots and dries them out. Firm the surrounding mix gently to eliminate air pockets, then water thoroughly. For the first 3 to 7 days after transplanting, keep the plant in bright but indirect light rather than full direct sun. This brief recovery period lets the roots re-establish in the new medium without the added stress of intense light and heat.
Hardening off: don't skip this step
If your plugs have been growing indoors or in a greenhouse, they need a gradual transition to outdoor conditions. Plants grown under protection have thinner, more tender leaf cuticles and aren't acclimatised to wind, direct UV, or outdoor temperature swings. Move them outside for 2 to 3 hours on the first day, in a sheltered spot out of strong midday sun. Over 7 to 10 days, increase their outdoor time and sun exposure progressively. Bring them in (or cover them) if overnight temperatures are forecast below 45°F. Rushing this step is one of the most common reasons plugs that look healthy in the pot suddenly look scorched and wilted a week after going out.
Light, temperature, and watering once established
Zonal Pelargoniums want at least 6 hours of direct sun per day to flower well. They'll survive in part shade but flower production drops noticeably. Martha Washington types prefer slightly cooler, bright conditions and will thank you for afternoon shade during hot spells. Ivy types and interspecific hybrids like Calliope can handle more heat and are a better choice if your patio bakes in afternoon sun.
Ideal daytime growing temperatures are between 65 and 80°F; overnight temperatures between 55 and 65°F encourage compact, strong growth. Both extremes cause problems: below 45°F, growth stalls and leaves may discolour; above 90-95°F, plants stress, stop flowering, and become susceptible to disease.
Watering is where most people go wrong in both directions. Pelargoniums are more drought-tolerant than most bedding plants. In containers, let the top inch of soil dry out between waterings. When you do water, water deeply so the whole rootball is moistened, then let it drain. Never let pots sit in standing water for more than a few hours. In hot weather, containers may need daily watering; in cool, cloudy spells, every 2 to 3 days may be enough. In garden beds, established plants need watering only in dry periods and can tolerate some dry spells once their roots are established.
Feeding, deadheading, and keeping plants blooming
Once plants are established and growing actively, a liquid feed every 7 to 14 days with a potassium-rich fertiliser (a tomato feed at the recommended rate works well) promotes flower production rather than excessive leafy growth. High-nitrogen feeds push big green leaves at the expense of blooms. If you've incorporated a slow-release granular fertiliser into your potting mix at planting, you can reduce liquid feeding to every 2 to 3 weeks during peak summer.
Deadheading, meaning removing spent flower heads, is genuinely important for continuous bloom. Don't just pluck the faded petals: snap or cut the entire flower stem back to where it meets the main stem. Leaving old stalks behind wastes the plant's energy and can become a site for botrytis to develop. Do this every few days during peak season and the plant will respond with new bud formation within a week or two.
If plants become leggy (long, stretched stems with flowers only at the tips), cut them back by up to one-third in midsummer. This feels drastic but it promotes branching and a second flush of blooms. Water and feed well after cutting back and you'll often get the best display of the season in late summer from plants that looked tired in July.
Common pests and diseases to watch for
Geraniums are relatively resilient but a few problems come up reliably. Botrytis (grey mould) is the most common disease issue, especially in cool, damp conditions or where plants are crowded. It shows as fluffy grey-brown growth on dying leaves and flowers. Remove affected material promptly, improve air circulation, and avoid overhead watering. Bacillus subtilis-based fungicides offer an organic option if the problem persists.
Vine weevil can be a serious problem in containers, with adult beetles notching leaf edges (mostly cosmetic) and grubs eating roots (fatal if unchecked). In autumn, water in a biological nematode control (Steinernema kraussei) when soil temperatures are between 40 and 65°F. Geranium budworm (Helicoverpa armigera in some regions, Lobesia species in others) can devastate flower buds, especially on Martha Washington types. Bacillus thuringiensis (Bt) sprays are effective and organic.
- Botrytis (grey mould): remove affected parts, improve air flow, reduce humidity, use Bacillus subtilis spray
- Aphids: knock off with a strong water jet, apply insecticidal soap spray, encourage ladybirds and lacewings
- Vine weevil grubs: apply nematode biological control in autumn (soil temp 40-65°F)
- Geranium budworm: apply Bacillus thuringiensis (Bt) spray at first sign of bud damage
- Pythium/root rot: caused by overwatering and poor drainage, not a pest, fix by improving soil mix and watering less
Troubleshooting: yellow leaves, leggy growth, and no blooms
Yellow leaves near the base of the plant are usually normal and just old leaves dying off naturally. But widespread yellowing across the whole plant usually points to overwatering (roots suffocating in wet soil), a nitrogen deficiency (step up your feeding schedule), or cold root temperatures in spring. Check the soil moisture first: if the mix feels wet and cool and smells earthy, let it dry out fully before watering again and consider repotting into a more porous mix.
Leggy, stretched growth with sparse flowering usually means insufficient light. Move the plant to a sunnier spot. If it's already in full sun and still stretching, try pinching out the growing tips to encourage branching. Pinching back young plants once or twice in the first few weeks after transplanting produces a bushier, more floriferous plant than leaving them to grow unchecked.
A plant that looks healthy but simply won't flower is often being overfed with nitrogen, getting too little light, or (in the case of Martha Washington types) being exposed to too much heat. Try switching to a low-nitrogen, high-potassium feed and make sure you're deadheading consistently. Sometimes a plant just needs to be cut back hard to reset its flowering cycle.
Overwintering and getting a second season
In zones 3 through 9, Pelargoniums won't survive frost outdoors. But bringing them inside for winter is very achievable and means you effectively get free plants for next year. Before the first frost, cut the plant back by about half, remove any dead or diseased material, and bring it indoors to a cool (45-50°F), bright position, like a frost-free greenhouse, bright porch, or sunny spare room. Water very sparingly through winter, just enough to keep the stems from shrivelling. In late winter (February or March), move it to a warmer spot, resume normal watering and feeding, and it will put on new growth ready for the new season.
Alternatively, take cuttings in late summer from healthy, non-flowering stems, root them in a free-draining compost-perlite mix, and overwinter the cuttings as small plants. This is a tidier method than overwintering large, woody parent plants, and the young plants often perform better the following year. Hardy Geranium (cranesbill) types need no such intervention: they die back to the ground in winter and return in spring without any help from you.
Plugs vs. seeds vs. cuttings: which should you choose?
Seeds give you the most variety choice and the lowest cost per plant, but Pelargonium seeds need consistent warmth (70-75°F), humidity, and care over 7 to 14 days of germination, followed by 12 to 16 more weeks before they're garden-ready. It's absolutely doable but it is the slowest and most skill-dependent route. Cuttings are free if you already have a parent plant, root easily in a perlite-heavy mix with bottom heat, and produce plants genetically identical to the parent. They're ideal if you want to multiply a favourite variety.
Plugs sit in the middle: more expensive than seeds but significantly less work, faster to flower, and more reliable for beginners. You also get access to the newest commercial varieties that aren't always available as seeds or cuttings to home gardeners. For most people growing a pot or two of geraniums for a summer display, plugs are simply the best value in terms of time, effort, and success rate.
| Starting Method | Cost | Time to Flower | Difficulty | Best For |
|---|---|---|---|---|
| Plugs | Medium | 8-12 weeks from plug | Low | Most home gardeners, beginners, new varieties |
| Seeds | Low | 16-20+ weeks from sowing | Medium-High | Maximum variety choice, budget growing, experienced growers |
| Cuttings | Free (if you have parent plant) | 10-14 weeks from cutting | Low-Medium | Multiplying a favourite variety, overwintering stock |
A note on plants sometimes confused with geraniums
Periwinkle (Vinca minor and Vinca major) is another popular bedding plant that sometimes gets grouped with geraniums in 'cottage garden containers,' but it's a completely different plant with different needs. Periwinkle is more shade-tolerant, more drought-resistant once established, and much more aggressive as a groundcover. If you're trying to decide whether to grow periwinkle or geraniums for a specific spot, the key question is light: geraniums (Pelargoniums) need sun to flower well, while periwinkle is one of the better choices for low-light situations.
Quick-reference care summary
| Care Factor | Zonal/Bedding Pelargonium | Martha Washington Pelargonium | Hardy Geranium (Cranesbill) |
|---|---|---|---|
| Light | Full sun (6+ hours) | Bright, part shade in heat | Sun to part shade |
| Watering | Let top inch dry between watering | Keep evenly moist, avoid extremes | Moderate; drought-tolerant once established |
| Feeding | High-K liquid feed every 7-14 days | High-K feed every 14 days | Low feed needs; light spring feed |
| Temperature | 65-80°F ideal; frost-tender | 55-75°F ideal; dislikes heat above 85°F | Hardy to zone 4-5; tolerates heat |
| Overwintering | Bring indoors or take cuttings | Bring indoors before frost | Leave in ground; dies back and returns |
| Spacing (beds) | 18-24 inches | 18-24 inches | 12-18 inches depending on variety |
FAQ
What is a plug (in propagation) and why use plugs for geraniums?
A plug is a young seedling or rooted cutting grown in a single cell of a multi‑cell tray in a small volume of propagation medium, intended for transplanting. Plugs give home gardeners an early‑season, uniform start with established roots and predictable timing versus sowing seed outdoors; they reduce early weed competition and shorten time to flowering compared with direct seeding.
How do I choose quality geranium plugs when buying?
Checklist when inspecting plugs: uniform top growth across the tray; fibrous white roots just reaching or slightly circling the cell (not brown, slimy, or hollow‑core); compact, firm stems (not overly soft or succulent); no visible pests, spider mite webbing, gray mold or damping‑off; moist but not waterlogged media; avoid trays with widely variable plant sizes or dry edge cells. Ask the supplier for finishing age or cell size if possible.
Which geranium types and varieties should I consider from plugs?
Understand the names: most bedding 'geraniums' are Pelargonium (tender): zonal/bedding (Pelargonium × hortorum) — upright, large flower clusters; Martha/Washington (Pelargonium × domesticum) — showy, large blooms; ivy/trailing (Pelargonium peltatum) — good for hanging baskets. True hardy geraniums (cranesbills, genus Geranium) are herbaceous perennials (e.g., 'Rozanne'). Good plug choices: Calliope® series or interspecific hybrids for heat and flowers; Pinto/Maverick seed/vegetative lines for compact pots; 'Rozanne' for hardy perennial plantings. Pick based on habit (upright vs trailing) and your USDA zone.
When is the right time to transplant geranium plugs outdoors?
Transplant tender Pelargonium plugs after risk of frost has passed in your area. Use your local USDA hardiness zone and last‑frost date (NWS/NOAA) to set timing. In warm climates (zones 9–11) you can plant earlier or keep plants year‑round; in hot inland climates (e.g., Texas) treat geraniums as spring/fall plants or provide afternoon shade in summer. Hardy cranesbills (Geranium spp.) can be planted earlier in spring because they tolerate cooler soil and air temperatures.
How do I harden off geranium plugs before transplanting?
Hardening off checklist (7–10 days): 1) Start by moving plugs to a protected, bright outdoor spot with morning sun and afternoon shade for 2–4 hours on day 1. 2) Increase outdoor time by 1–2 hours daily and gradually introduce stronger light and wind. 3) Reduce fertilizer and keep soil consistently moist but not saturated. 4) On the last 2 nights, expose plants to expected nighttime lows for your target planting site. Stop hardening if forecast frost is expected; return plugs to protected conditions.
What is the step-by-step transplant method for plugs into pots or beds?
Transplant steps: 1) Water plug tray 1–3 hours before transplant to firm rootball. 2) Prepare destination: pre‑fill pots/beds with moist potting mix and make a hole slightly larger than the plug rootball. 3) Remove plug: hold tray upside down and pop plug straight up or use a tool; support the plant crown. 4) Place plug at same depth as in cell; avoid burying crown. 5) Firm media gently around roots to remove air pockets. 6) Water thoroughly to settle soil. 7) Put transplants in bright shade or filtered light for 3–7 days while roots re‑establish, then move to the final light exposure gradually.
Next Article
How to Grow Geraniums in Texas From Seed to Bloom
Texas step-by-step geranium guide from seed to bloom: timing, light, watering, fertilizing, pests, and troubleshooting.